If you’re considering a standing seam metal roof, you’re making a fantastic investment in durability and aesthetics. Known for its sleek, modern design and durability, standing seam metal roofing is an increasingly popular choice for homeowners and contractors. However, installation is not as straightforward as your average asphalt shingles. Metal roofing requires specific skills and detailed precision to ensure it lasts for decades.
Whether you’re a skilled DIYer or a contractor looking to expand your knowledge, this guide breaks down the materials you’ll need and the exact steps to properly install a standing seam metal roof. Let’s get started!
What is a Standing Seam Metal Roof?
Before we jump into the installation process, it’s essential to understand what makes standing seam metal roofs unique.
A standing seam metal roof is a system of interlocking vertical panels connected by concealed fasteners underneath. Unlike exposed fastener roofs, this design allows the metal to expand and contract with temperature changes, preventing long-term damage. The result? A sleek and weather-resistant roof that lasts upwards of 50 years.
Why Proper Installation Matters
The lifetime of a standing seam metal roof heavily depends on how well it’s installed. Incorrect installation can lead to leaks, corrosion, and expensive repairs. This is why following the right process and using high-quality materials is crucial for success.
What Materials Are Needed for Installation?
Before starting, gather the required materials for your standing seam metal roof system. Here’s what you’ll need:
- Roof Decking (also called sheathing): This wooden foundation supports the entire roof system and is typically made of plywood or oriented strand board (OSB).
- Starter Lock Strips: These are essential to secure your metal panels and keep them from lifting in high winds.
- High-Heat Ice and Water Shield Underlayment: This self-adhering underlayment provides added protection by preventing water penetration.
- Metal Panels: The main component of your roof, available in various colors and metals to suit your aesthetic.
- Clips: Fasteners that attach the panels to the roof decking while allowing movement for expansion and contraction.
- Z Bar Flashing: Connects the panels to the ridge capping to seal gaps.
- Ridge Capping: Finishes the peak of the roof by covering the meeting point of two roof slopes.
Now that you have your materials ready, here are the steps to install your standing seam metal roof.
7 Steps to Install a Standing Seam Metal Roof
1. Tear Off Existing Roofing Materials
Before starting, the current roofing materials need to be completely removed to inspect the roof deck. Working from the farthest end of the roof, remove shingles, old layers of underlayment, and any nails or staples. Be sure to clear all debris from the roof and dispose of it properly.
Pro Tip: Have team members or tarps on the ground to catch materials like old shingles.
2. Inspect and Replace Roof Decking
Once the old materials are gone, carefully inspect the roof deck for any signs of rot or damage. Compromised decking must be replaced to ensure a sturdy foundation for your new roof.
While it’s common to replace a few wooden boards, extensive rot may require larger sections to be replaced to guarantee structural stability.
3. Install Lock Strips at the Rakes and Eaves
The next step involves installing lock strips at the rakes (sloped edges of the roof) and eaves (bottom horizontal edge). These strips hold the metal panels securely in place, preventing wind and water from penetrating under your roof.
Properly aligned lock strips set the stage for ensuring your metal roof panels attach firmly and evenly.
4. Lay Down the High-Heat Ice and Water Shield
Underlayment is critical to protecting your roof from water intrusion. Use a high-heat ice and water shield with a self-adhesive backing. Start at the eaves and work your way up, overlapping sections to ensure there are no gaps.
This underlayment is designed to handle the temperature fluctuations of a metal roof, preventing condensation and protecting your roof decking from moisture.
Pro Tip: Ensure the underlayment covers the top of the lock strip at the eaves but sits beneath the lock strip at the rakes to avoid water damage.
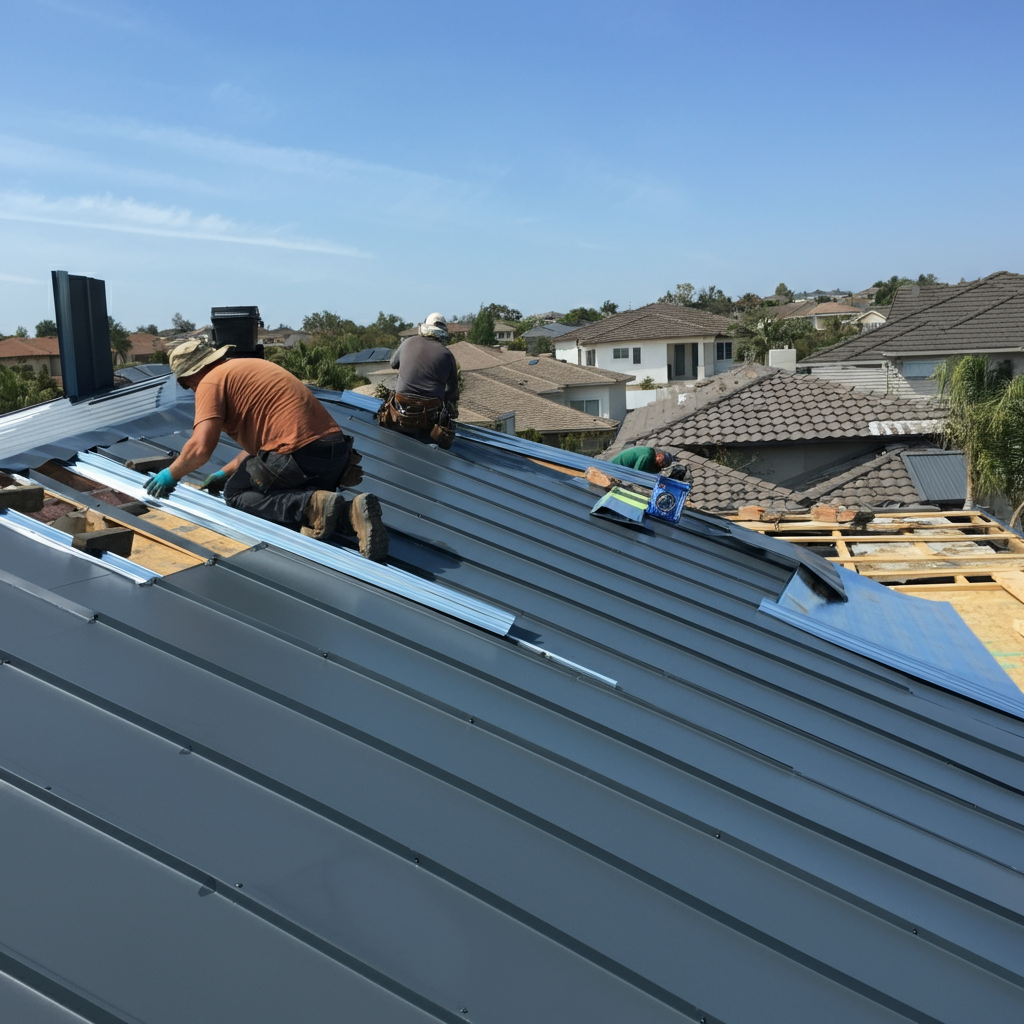
5. Install the Standing Seam Metal Panels
Now it’s time for the pivotal step—installing your metal roof panels.
- Begin by cutting the rib off the first metal panel to allow it to securely attach to the rake lock strip.
- Hook the bottom of the panel onto the eaves lock strip and align it securely against the rake lock strip.
- Fasten the panel to the roof decking with clips and screws, spaced to allow for metal expansion. The clips secure the vertical seam of the panel without being visible.
- Snap the next panel into place, locking it with the adjacent panel’s seam and attaching it to the deck with clips.
Repeat this process until all panels are securely locked in place.
Pro Tip: Each panel must overlap with the one beneath it for a tight and seamless finish.
6. Install the Z Bar Flashing
After all panels are installed, the Z bar flashing is added to seal gaps and prevent water infiltration. Designed to fit precisely into the ribs and the roof ridge, the Z bar provides an additional layer of protection against wind and rain.
Ensure the Z bar is raised slightly above the ribs for a watertight seal.
7. Secure Ridge Capping or Transition Metal
The final step is to install ridge capping, which covers the peak where two roof slopes meet. Carefully lock the ridge capping into the Z bar, ensuring a secure fit.
If your roof transitions between low and steep slopes, use transition metal instead of ridge capping to provide support and stability in those areas. Once these final pieces are in place, your standing seam metal roof is complete!
Should You Hire a Professional or DIY?
Installing a standing seam metal roof requires specialized skills. While it may appear manageable on paper, the reality is much more complex. A single misstep can lead to structural issues or leaks, significantly impacting the lifespan of your roof.
Hiring a professional roofer ensures precision and expertise. However, be aware that professional installation comes with a higher price tag due to the materials, labor, and specialized tools involved.
If you’re considering this as a DIY project, ensure you have prior roofing experience and invest in high-quality tools and materials.
Your New Metal Roof is Built to Last
A standing seam metal roof is a durable, stylish, and long-lasting option that can protect your home for decades—but only if installed correctly.
By following these detailed steps, you can ensure your roof is set up to perform at its best. However, if you’re unsure about taking on the challenge or want guaranteed results, consult a professional metal roofing contractor.
Your roof deserves to be installed with care and expertise—it’s an investment in your home’s future.