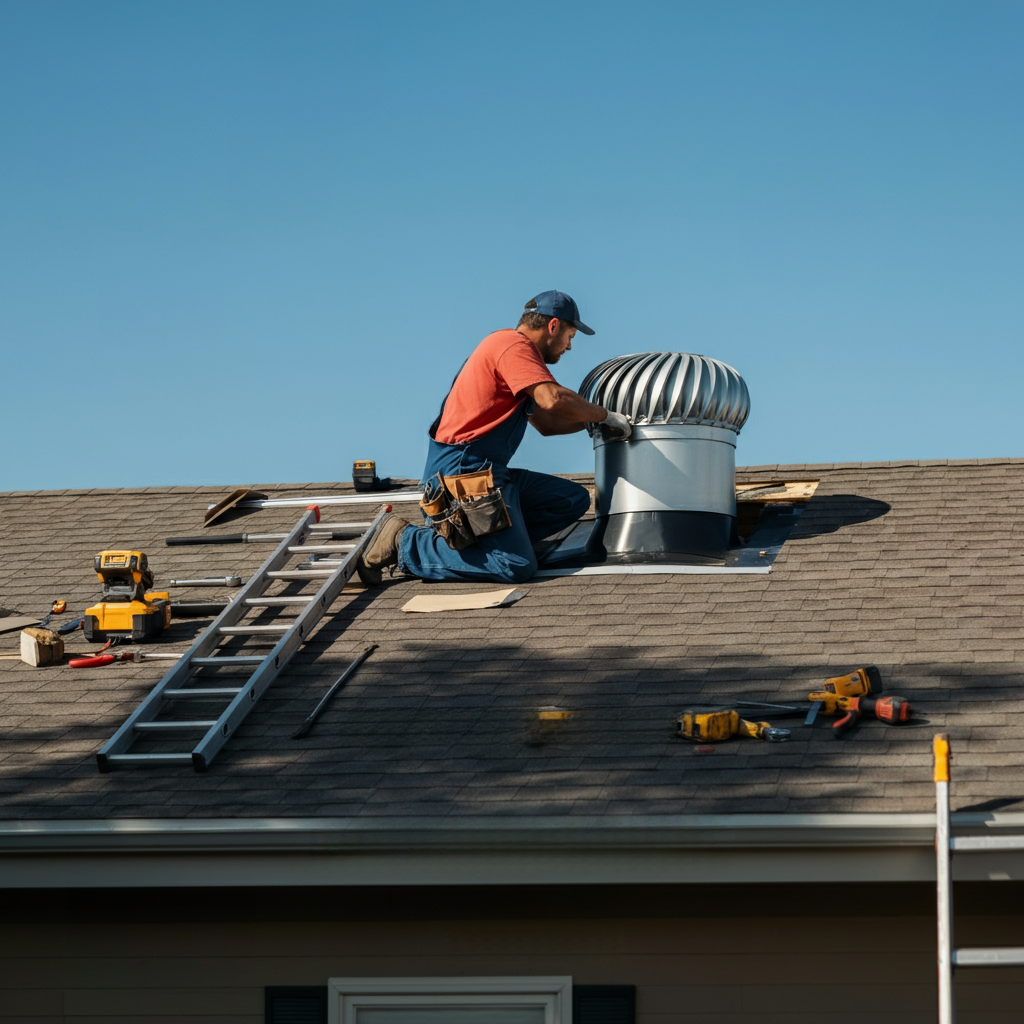
How to Replace a Roof Vent: A Step-by-Step Guide for DIY Enthusiasts
Roof vents play a critical role in maintaining your home’s ventilation by regulating the air circulation in your attic. Whether you’re upgrading an old vent or replacing a damaged one, installing or replacing a roof vent might seem intimidating. However, with the right tools and guidance, it’s a task you can tackle confidently.
This blog offers step-by-step instructions on how to replace a roof vent. We’ll guide you through selecting the right vent, preparing your workspace, and completing the installation, ensuring a safer and more efficient home ventilation system.
Why is Replacing a Roof Vent Important?
Roof vents are essential for proper ventilation, preventing moisture buildup, and ensuring temperature regulation in your attic and home. Damaged or outdated vents can lead to several problems, including:
- Moisture Damage: Without proper ventilation, moisture can accumulate in your attic, leading to mold, mildew, and potential structural damage.
- Higher Energy Bills: A poorly ventilated attic can make your HVAC system work harder, increasing energy costs.
- Roof Damage: Trapped heat or moisture can shorten the lifespan of your roofing materials.
By replacing a damaged or outdated roof vent, you’ll not only protect your home’s structure but also ensure better energy efficiency and air circulation.
Tools and Materials You’ll Need
Before starting the replacement process, gather the following tools and materials:
- Replacement roof vent
- Pry bar
- Roofing nails
- Roofing sealant or caulk
- Hammer
- Roofing screws
- Tape measure
- Utility knife
- Putty knife
- Ladder
- Safety harness
Safety First:
Working on a roof can be dangerous. Always wear sturdy shoes, use a safety harness, and avoid working during bad weather to prevent slips or falls. If you’re unsure about safe practices, consider consulting a professional.
Step-by-Step Guide to Replace a Roof Vent
Step 1: Choose the Right Roof Vent
There are various types of roof vents available, including ridge vents, soffit vents, and turbine vents. Select a vent that aligns with your home’s ventilation requirements and is compatible with your roof type. For example, ridge vents work well for homes with sloped roofs, while soffit vents are ideal for attic ventilation from below.
Step 2: Prepare the Workspace
Start by examining the roof vent to determine the scope of work needed. Clear debris around the vent and ensure you have enough space to work safely.
Pro Tip: Use a brush or blower to remove leaves or dirt around the vent before starting the replacement.
Step 3: Remove the Old Roof Vent
Use a pry bar to carefully remove any shingles overlapping the vent’s base. Be cautious not to damage the surrounding shingles. Once the shingles are removed, unscrew or pull out the nails securing the old vent in place. Lift the vent out carefully.
Check for any damage to the roof decking beneath the vent. If you notice rot or structural issues, address these problems before installing the new vent.
Step 4: Install the New Roof Vent
Position the new vent over the opening, ensuring it aligns perfectly with the existing hole. Secure the vent to the roof using roofing nails or screws in the designated slots of the vent’s base.
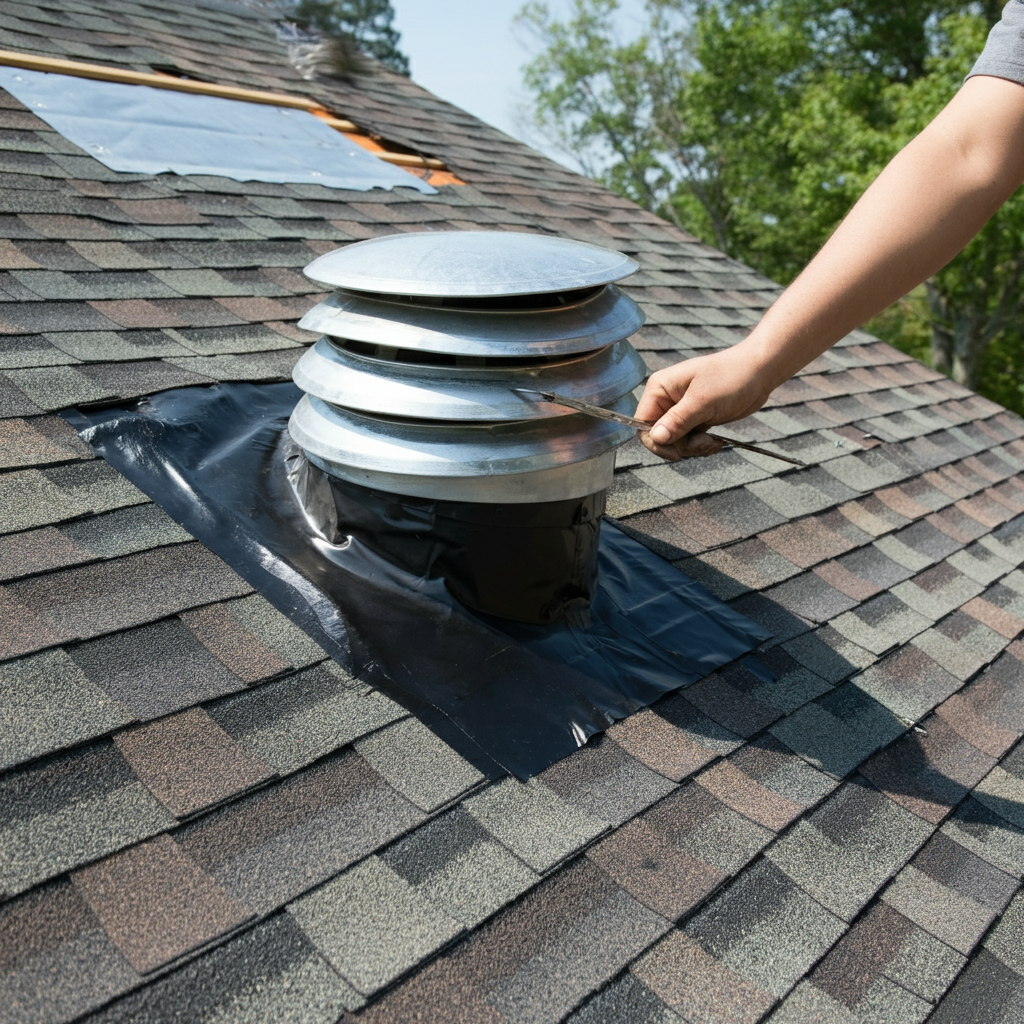
Step 5: Seal the Edges
Apply roofing sealant or caulk around the edge of the vent where it meets the shingles. This will create a watertight seal to prevent leaks. Use a putty knife to smooth the sealant and ensure full coverage.
Step 6: Replace the Shingles
Reposition the shingles you removed earlier so they cover the edges of the vent’s flashing. Nail them back into place and apply some roofing sealant over the nail heads to further prevent water infiltration.
Step 7: Perform a Quality Check
Once the installation is complete, inspect your work to ensure the vent is securely attached and sealed. Test the vent by pouring a small amount of water around it to check for leaks. If you notice any issues, reapply the sealant as needed.
Common Mistakes to Avoid
- Overlooking Safety: Always prioritize safety by wearing proper gear and working in suitable weather conditions.
- Incorrect Sizing: Make sure the replacement vent matches the size of the old one to avoid cutting or patching issues.
- Skipping the Sealant: Proper sealing is crucial to prevent leaks and water damage.
- Damaging Shingles: Be gentle when removing and replacing shingles to maintain the integrity of your roof.
Maintaining Your Roof Vent After Installation
Extend the lifespan of your roof vent with these maintenance tips:
- Inspect the vent annually for wear, rust, or damage.
- Clear away debris, dirt, or leaves around the vent to prevent clogs.
- Ensure the attic has balanced ventilation with sufficient intake and exhaust vents.
By maintaining your roof vent, you’ll ensure that your attic stays well-ventilated and avoid costly repairs.
When to Call a Professional
While replacing a roof vent can often be a DIY job, it’s essential to know your limits. Consider hiring a professional if:
- Your roof has steep slopes or is difficult to access.
- The vent replacement requires extensive roof modifications.
- You’re unsure about proper installation techniques.
Hiring an expert can prevent costly mistakes and ensure the job is done safely and correctly.
Take the First Step Toward Better Ventilation
Replacing a roof vent might seem like a challenge, but with the right tools, preparation, and guidance, it’s a manageable task for many DIYers. Not only will you improve your home’s ventilation and energy efficiency, but you’ll also prolong the lifespan of your roof.
If you’re looking to explore more home improvement projects or need additional guidance, check out our resources and tutorials on roofing and ventilation. Have questions? Drop us a comment below or reach out to our team for expert advice!