Moss might seem harmless—a soft, green carpet lining your roof with a touch of rustic charm. But in reality, it’s an invader that can cause damage to your home. Don’t worry, though! Keeping your roof moss-free isn’t as daunting as it sounds. Armed with the right knowledge and tools, you can protect your roof while maintaining your home’s curb appeal.
This guide will take you through everything you need to know about moss on your roof, from identifying the signs of growth to preventing future build-up. Whether you’re an experienced DIY enthusiast or a homeowner just getting started, we’ve got you covered. Let’s make your roof look stunning again!
Why Moss on Your Roof Matters
Though charming in appearance, moss can wreak havoc when it finds a home on your roof. Moss thrives in damp, shady conditions, especially on roofs with low sunlight exposure. Once it starts growing, it collects moisture, which can lead to some pretty serious consequences, such as:
- Structural Damage: When moss retains water, it can erode shingles and weaken the roof’s materials over time.
- Blocked Drainage: Moss can cause gutters to clog, creating water backflow that affects your roof and foundation.
- Shortened Roof Lifespan: Most roofs are designed to last decades, but unchecked moss growth drastically reduces their lifespan.
Taking action sooner rather than later will not only save you money but keep your home safe and sound.
Moss: The Silent Invader
Why does moss love roofs so much? Simple—roofs provide high, static surfaces for moss spores to settle, and the dark, damp spaces between shingles make the perfect moss sanctuary. Moss typically spreads during cooler, wet weather and can go unnoticed for seasons.
Quick pro tip: Moss loves shady spots! If one part of your roof is under a big tree or doesn’t get much sunlight, it’s a prime target for moss growth.
Signs of Moss Growth You Should Never Ignore
Spotting moss early is key to preventing larger issues (and expensive repairs!). Keep an eye out for these telltale signs:
- Soft, spongy green patches lining your shingles.
- Dark streaks or stains that might indicate a combination of moss and algae.
- Overhanging tree branches that make your roof seem darker than usual.
Not sure if it’s moss or dirt? Head up there for a closer look—or better yet, grab a pair of binoculars!
Simple Ways to Prevent Moss Build-Up
The best offense is a good defense, right? Take these steps to make your roof an unwelcome place for moss:
- Trim Overhanging Branches
Ensure sunlight reaches all parts of the roof by keeping trees and branches trimmed. This helps reduce damp conditions where moss thrives.
- Clear Debris Regularly
Leaves and dirt collect moisture—invite moss in, and you’ve got a party! Sweep your roof (safely, of course) to remove debris frequently.
- Check Your Roof Annually
A yearly inspection will help you spot moss and other issues early, making maintenance much easier.
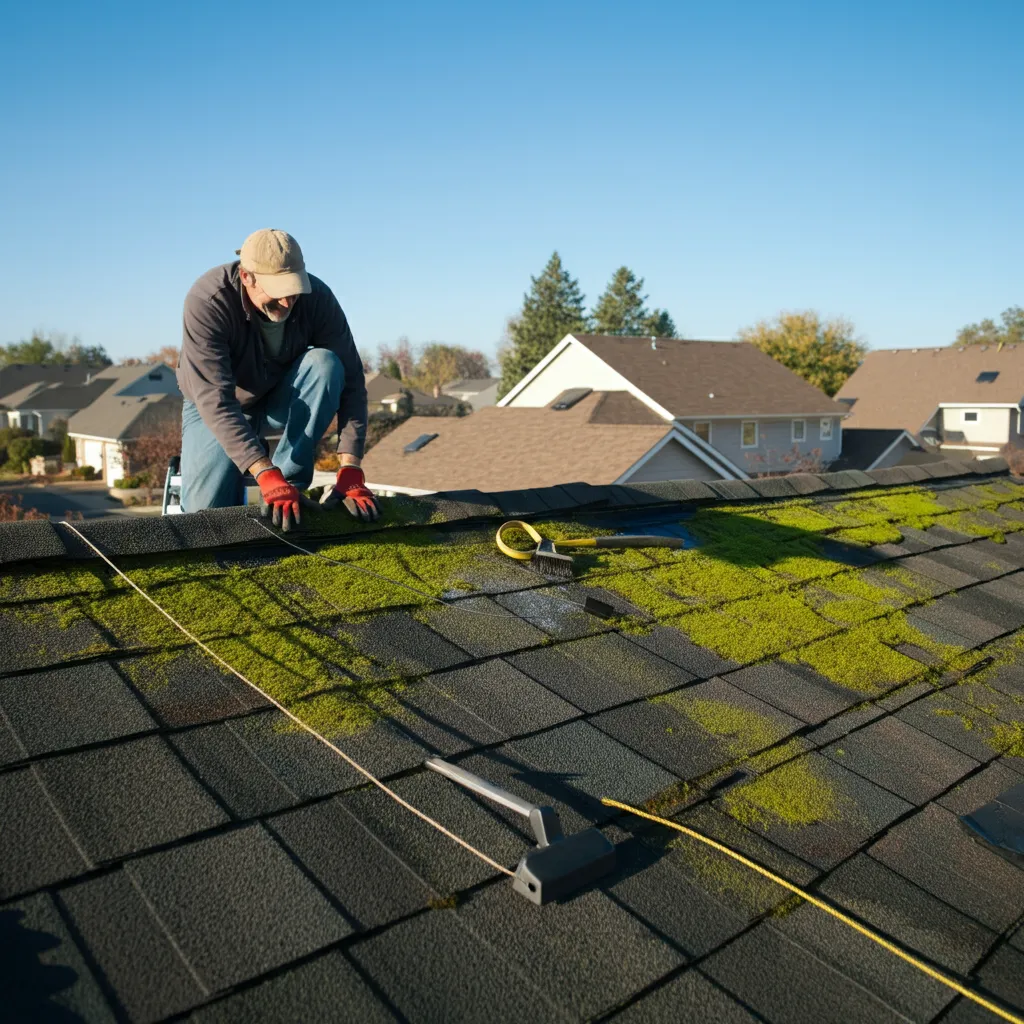
Best Tools for Roof Maintenance
- Soft-Bristle Broom or Brush: Perfect for gently sweeping away moss without damaging shingles.
- Safety Gear: Non-slip boots, a harness, and gloves are essentials for keeping safe while working on your roof.
- Garden Shears or Pole Pruner: Trim nearby tree branches to help sunlight reach your roof.
Quick tip: Avoid pressure washers! Though tempting, they can strip away the protective granules on shingles, causing further damage.
Chemical Treatments: What You Need to Know
Sometimes a more aggressive approach is needed to remove moss entirely. There are several chemical treatments specially designed for roofs:
- Moss Control Sprays
These sprays are applied to the affected area and left to work their magic before rinsing off. Popular options include zinc sulfate and potassium salts of fatty acids.
- Copper or Zinc Strips
Installing strips along your roof’s ridge creates a residue that repels moss whenever it rains. Handy, right?
Remember, always read and follow the instructions on the product carefully—and keep children and pets away while chemicals are in use.
Natural Solutions for a Moss-Free Roof
Not a fan of chemicals? No worries, there are eco-friendly options too:
- DIY Moss Killer
Mix equal parts water and white vinegar into a spray bottle, then apply it to mossy areas. Vinegar’s natural acidity helps break down moss without harsh chemicals.
- Baking Soda
Sprinkle baking soda on moss patches to dehydrate and kill moss over time. Best applied in dry weather for maximum effect.
Nature-approved AND effective!
When to Call the Professionals
If the moss has spread extensively, DIY methods might not cut it. Professionals have the expertise and equipment to safely remove moss and perform repairs if necessary. Don’t hesitate to call in the pros when:
- Moss covers large portions of your roof
- Your roof is steep or high, posing safety risks
- DIY methods haven’t worked, and the moss keeps coming back
Sometimes, peace of mind is worth the investment.
Regular Maintenance: Your Best Defense
Once your roof is moss-free, regular maintenance is vital to keeping it that way. Here’s how:
- Inspect your roof every few months for early signs of moss.
- Clean or treat your roof annually to fend off potential growth.
- Consider installing zinc or copper strips as a long-term preventative measure.
A little ongoing effort can save you big headaches (and dollars) over the years.
Enjoy a Beautiful, Clear Roof
A moss-free roof isn’t just about good looks—it’s about protecting your home and investment. By taking these steps to prevent and remove moss, you’re ensuring your roof stays as strong and beautiful as the day it was installed.
Want to learn more about keeping your home in top shape? Subscribe to our newsletter for regular maintenance tips and ideas to enhance your home’s value, one project at a time. Happy cleaning!

