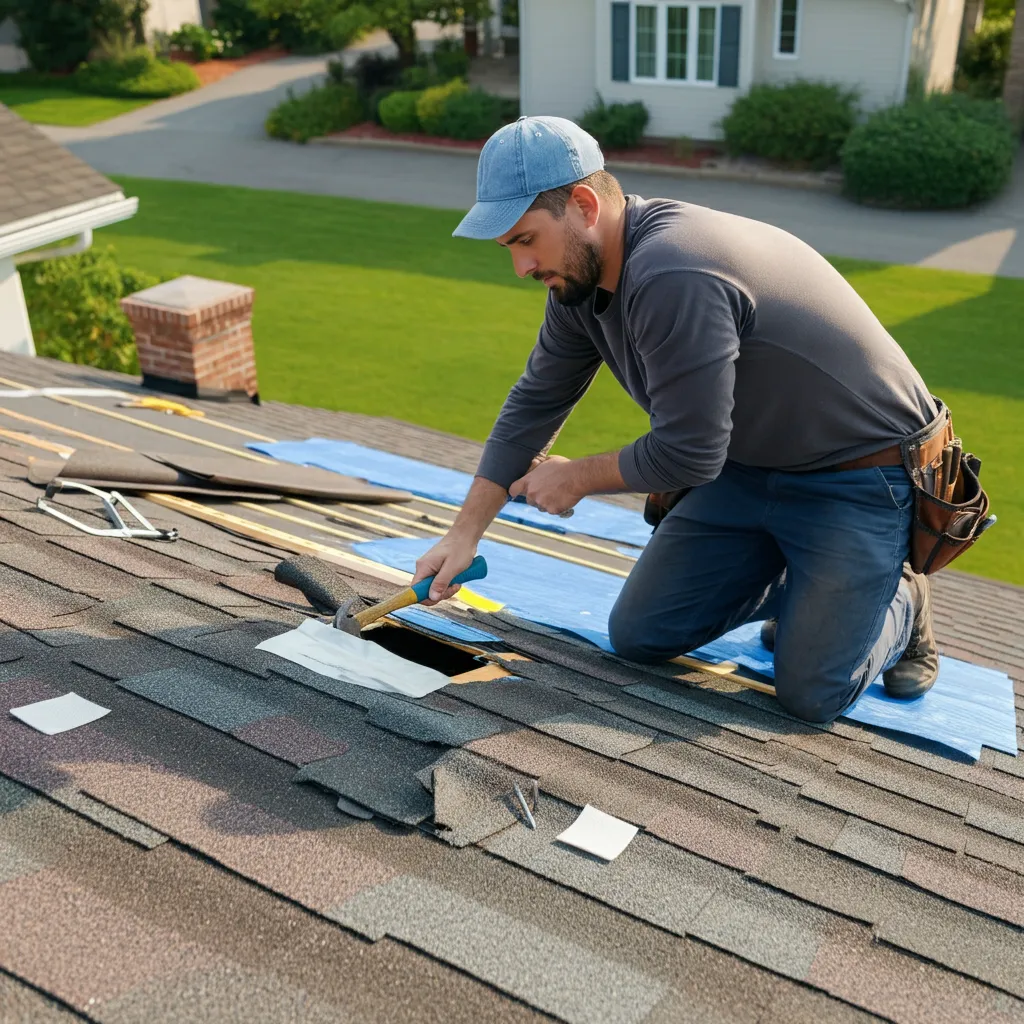
A hole in your roof is more than just an inconvenience—it’s a serious problem that can lead to water damage, mold growth, and skyrocketing heating or cooling bills. Whether it’s caused by storm damage, fallen branches, or general wear and tear, fixing a roof hole quickly is crucial to protecting your home. But don’t worry. Even if you’ve never tackled a roofing project before, this guide will walk you through everything you need to know to get the job done safely and effectively.
By the end of this post, you’ll understand how to assess the damage, gather the right tools, and repair your roof step by step. Let’s take a deep breath and get started.
Assessing the Damage
Before jumping into repairs, start by thoroughly assessing the size and scope of the hole. This will help you determine the materials you’ll need and whether you’re equipped to handle the repair yourself.
Step 1: Examine the Roof From the Inside
Go into your attic or crawl space with a flashlight. Look for signs of sunlight streaming through the roof or water stains on the wood. These can give you a good idea of where the hole is located.
Step 2: Inspect the Roof From Outside
Using a ladder, carefully inspect your roof from the outside. Take note of the size of the hole, missing shingles, or any other signs of damage. If the hole is larger than two feet in diameter or involves structural damage to the roof, call a professional roofer.
When to Call a Professional
A DIY repair is ideal for small holes caused by missing shingles or punctures. However, if the damage is extensive or if your roof has a steep pitch, it’s safer to have a professional handle the repair.
Pro Tip: Safety first! Never go onto your roof in bad weather or without proper safety precautions.
Tools and Materials You’ll Need
Once you’ve decided that the hole is manageable for a DIY fix, gather the following tools and materials to get started.
Tools:
- Hammer or nail gun
- Utility knife
- Roofing nails
- Measuring tape
- Safety goggles
- Ladder
Materials:
- Roofing shingles (match the color as closely as possible)
- Roofing felt or underlayment
- Roofing tar or sealant
- Plywood (if the hole is larger)
- Self-adhesive roofing tape
Having the right tools will save you time and frustration during the repair process.
Step-by-Step Guide to Fixing a Hole in Your Roof
Now comes the main event! Follow these steps to secure your roof and prevent any further damage.
Step 1: Secure the Area
● Place a tarp over the damaged section to protect your home from rain while you work. Use heavy objects or nails to secure the tarp in place.
Step 2: Remove Damaged Materials
● Remove any loose or damaged shingles around the hole using a utility knife or flat pry bar. Be sure to clear away debris or old nails that could compromise your new materials.
Step 3: Address Hole Size
● Small Holes (less than 1 inch): Apply roofing tar beneath and over the hole for a quick patch.
● Medium Holes (up to 2 feet): Cut a piece of plywood to fit over the hole, secure it with roofing nails, and cover it with roofing felt.
● Large Holes (greater than 2 feet): Larger holes may require more extensive framing repairs, which is a job for the professionals.
Step 4: Add Roofing Felt
● Cut a piece of roofing felt to cover the area, extending it slightly beyond the hole’s edges. Secure the felt with roofing nails.
Step 5: Replace Shingles
● Place the new shingles over the felt, starting from the bottom and overlapping each row as you move upward. Nail each shingle in place and cover the nail heads with roofing tar to waterproof them.
Step 6: Seal the Edges
● Use additional roofing tar or sealant to cover the edges of the patched area, ensuring there are no gaps for water to seep through.
Pro Tip: Work carefully and take your time. A rushed job may lead to problems down the line.
Preventing Future Roof Damage
Once your roof is repaired, follow these tips to extend its lifespan and avoid future issues.
Perform Regular Inspections
Inspect your roof twice a year (spring and fall) and after major storms. Look for missing shingles, sagging areas, or granules collecting in your gutters.
Keep Trees Trimmed
Overhanging branches can damage your roof during storms. Keep trees trimmed to minimize the risk of falling limbs.
Clean Gutters
Clogged gutters can lead to water backup, which may damage your roof’s structure. Clean gutters regularly to keep water flowing away from your home.
Address Minor Repairs Immediately
Don’t wait for small issues to turn into major problems. Tackle repairs as soon as you notice them.
By staying proactive, you’ll save time and money in the long run.
Is DIY Roofing Right for You?
Repairing a roof might sound daunting, but for small-scale projects, it’s a manageable task for most homeowners and DIY enthusiasts. The key is being prepared, working safely, and knowing when to call in professionals.
If you’re not comfortable handling the repair—or if the damage is severe—a professional roofer can help you get the job done right. Remember, your roof plays a critical role in protecting your home, so don’t cut corners when it comes to quality and safety.
Take action today and give your roof the attention it deserves. Whether you’re patching up a hole yourself or calling a pro, addressing the issue promptly will save you a lot of headaches (and money) down the line.


