A gable roof is one of the most popular roof styles for its versatility, efficiency, and classic aesthetic. Whether you’re planning to upgrade your home’s design or build a structure from scratch, constructing a gable roof can be a rewarding project. While the idea of crafting a roof may sound daunting, breaking it into manageable steps can simplify the process.
This guide walks you through building a gable roof, from planning to finishing, with easy-to-follow explanations and actionable tips. Whether you’re a homeowner tackling your next DIY project or a seasoned contractor looking for a refresher, this blog has everything you need.
What is a Gable Roof?
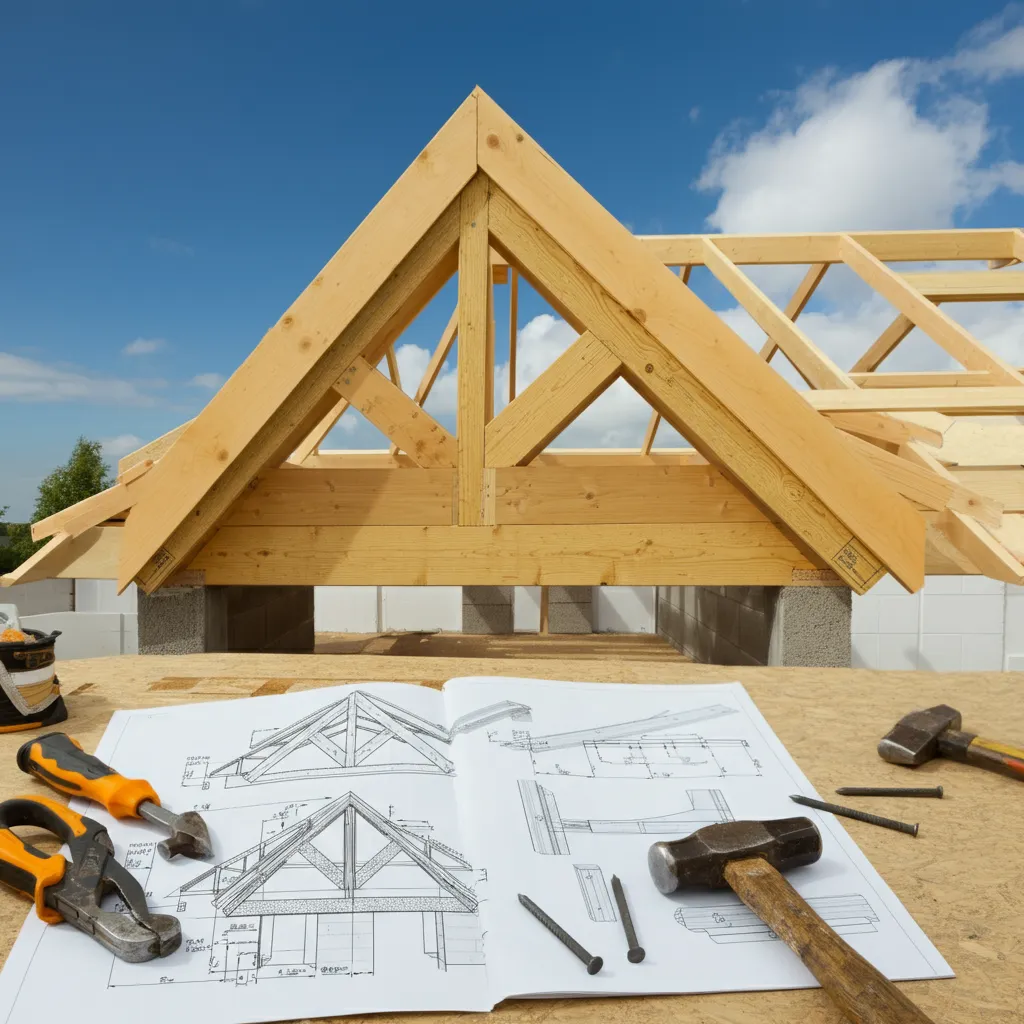
A gable roof, often called a pitched or peaked roof, is a traditional roof style featuring two sloping sides that meet to form a ridge. Its triangular shape is not only visually appealing but also offers practical benefits such as better water runoff, extra attic space, and improved ventilation.
Benefits of Building a Gable Roof
Before jumping into the construction process, it’s worth noting why the gable roof is such a coveted choice for homes and smaller structures like sheds or garages.
- Cost-Effectiveness: Gable roofs are relatively simple to design and construct, making them an economical option.
- Weather Resistance: Their steep slope makes them excellent for shedding rain, snow, and debris, particularly in areas with frequent precipitation.
- Additional Space: Gable roofs create attic storage or room for vaulted ceilings, offering more utility.
- Timeless Design: Their aesthetic appeal works well with various architectural styles, from traditional to modern.
Tools and Materials You’ll Need
Before starting the build, gather all the necessary tools and materials to ensure smooth execution.
Tools
- Measuring tape
- Circular or miter saw
- Hammer or nail gun
- Spirit level
- Drill and screws
- Framing square
- Safety gear (gloves, goggles, and a helmet)
Materials
- Lumber (typically 2x4s or 2x6s for framing)
- Roof sheathing (OSB or plywood)
- Roof covering (shingles, tiles, or metal panels)
- Roofing nails
- Ridge board
- Roofing felt or underlayment
Step-by-Step Guide to Building a Gable Roof
Step 1: Plan and Design Your Roof
Every successful construction project starts with a well-thought-out plan.
- Determine Roof Dimensions
Begin by deciding the size of your roof. Measure the length and width of the building to calculate the area the gable roof will cover. Consider the desired pitch (slope) of your roof, as this affects material requirements.
- Choose the Roof Pitch
The pitch of a roof is typically expressed as a ratio, such as 4:12, which means the roof rises 4 inches for every 12 inches of run. The pitch you select depends on aesthetic preferences, climate conditions, and local building codes.
- Draw Your Blueprint
Sketch a clear outline of the roof. Include measurements, angles, and materials. If you’re less experienced, consider consulting a contractor or using pre-designed roof plans.
Pro Tip: Check local building regulations to ensure your design complies with codes and zoning laws.
Step 2: Prepare the Building Frame
With the plan in hand, it’s time to prepare the foundation for your gable roof.
- Ensure that the walls of your building structure are level and sturdy.
- Place a horizontal support beam, called a ridge board, at the peak of the roof where the gable angles meet. Ensure it aligns perfectly with the center of the structure.
Step 3: Craft and Install Rafters
Rafters are the sloping beams that form the skeleton of your gable roof. These triangular sections provide structural support.
- Cut the rafters from lumber according to your roof’s pitch and measurements. A framing square can help ensure accuracy.
- Create evenly spaced notches at the ends of the rafters to fit them snugly onto the wall plate (the horizontal beam that sits on top of the wall).
- Position two rafters at each end of the ridge board, forming a triangle. Next, attach additional rafters at even intervals (typically 16 to 24 inches apart).
Pro Tip: Dry-fit rafters before nailing to ensure everything aligns perfectly.
Step 4: Attach Roof Sheathing
Once the rafters are securely in place, add roof sheathing to create the roof’s foundation.
- Lay sheets of plywood or OSB (oriented strand board) across the rafters, starting from the lower edge.
- Attach the sheets using a nail gun or screws, ensuring no gaps between each board.
This step strengthens the roof’s structure while providing a surface for the roof covering.
Step 5: Install Underlayment
Underlayment acts as a protective layer against moisture and weather damage.
- Roll out roofing felt or synthetic underlayment along the plywood sheathing, starting at the eaves.
- Overlap sections by about 6 inches and secure them with staples or nails.
Pro Tip: Choose a quality underlayment for long-lasting protection, especially in areas prone to heavy rainfall.
Step 6: Add Roof Covering
The roof covering adds the final layer of protection and aesthetic appeal. Popular options include shingles, metal panels, or tiles.
- Begin at the bottom edge and overlap materials as you work upwards toward the ridge.
- Secure the covering with roofing nails, following the manufacturer’s instructions for spacing and overlap guidelines.
- Once you reach the ridge, use specialized ridge caps to seal the top of the roof.
Step 7: Inspect and Clean Up
After installing the roof covering, inspect all areas to ensure they are secure and weatherproof. Look for gaps, loose nails, or misaligned sections. Once satisfied, clean the construction site of debris and excess materials.
Common Mistakes to Avoid
- Ignoring Building Codes: Failing to comply with local regulations can lead to fines or issues down the line.
- Incorrect Measurements: Precise measurements are critical for ensuring all components fit perfectly.
- Skipping Safety Gear: Always prioritize safety by wearing proper gear and working cautiously at heights.
- Poor Waterproofing: Neglecting underlayment or leaving gaps may result in leaks and damage.
Enjoy the Benefits of Your Gable Roof
Congratulations! By following this guide, you’ve built a durable and visually appealing gable roof that meets your needs. Whether you’re protecting your home, constructing a shed, or taking on a creative DIY project, a well-made roof adds form and function to your space.
If you’re still unsure about handling certain steps alone or want to ensure your roof holds up for decades, consulting a professional contractor is always a great idea.


