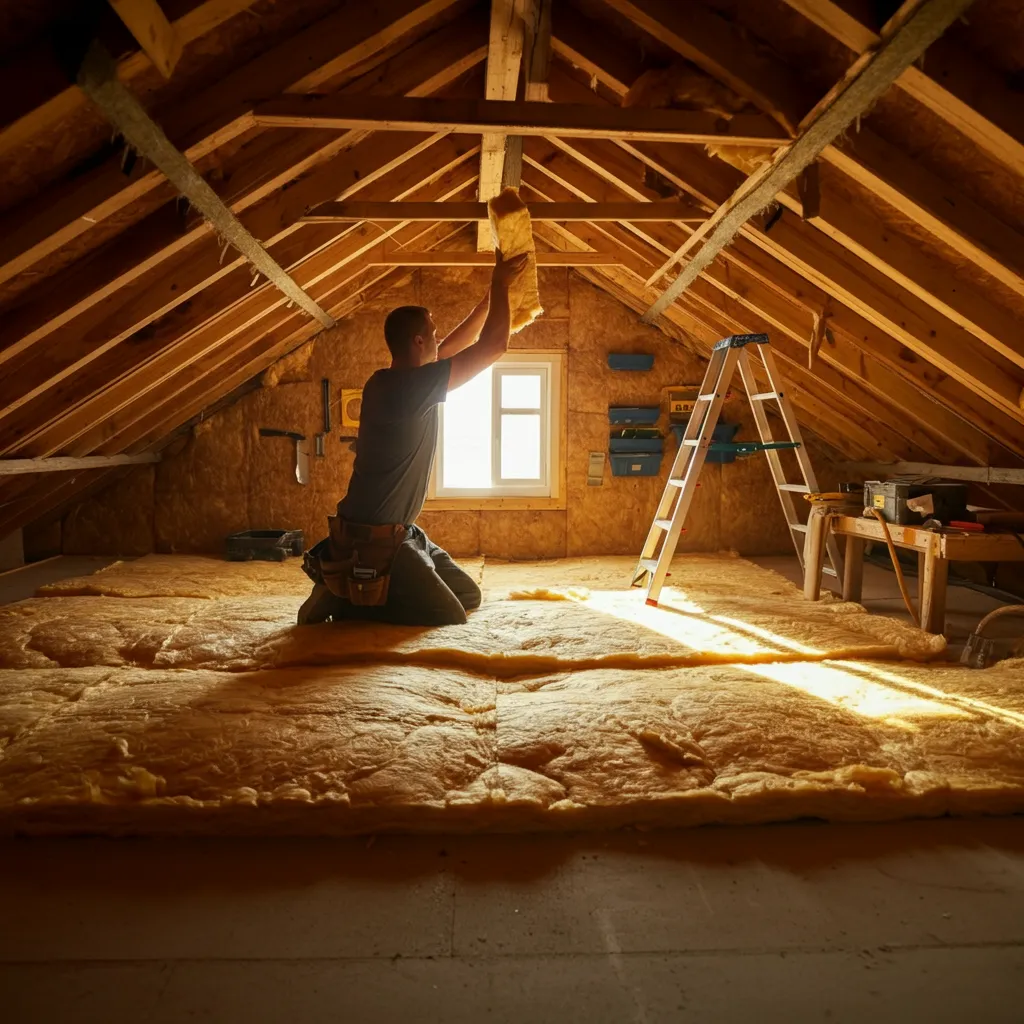
Properly insulating your attic roof rafters is one of the most effective ways to save on energy bills and improve the comfort of your home. Whether you’re a DIY enthusiast eager to roll up your sleeves or a home improvement buff looking for your next project, this guide has you covered.
By following this step-by-step guide, you’ll not only create a cozier living environment but also protect your roof and increase your home’s overall efficiency. Get ready to make your home more comfortable and energy-smart!
Why Insulating Attic Roof Rafters Is Worth It
Have you noticed drafts creeping in or a noticeable difference in temperature between rooms? Your attic might be to blame! Insulating your roof rafters offers several direct benefits beyond comfort.
- Energy Efficiency: Proper insulation keeps your home warm in winter and cool in summer, reducing reliance on heating and air conditioning.
- Lower Energy Bills: With less energy needed to regulate the temperature, you’ll see the difference on your monthly utility bills.
- Improved Roof Lifespan: Insulation can prevent mold growth and condensation, helping to protect the integrity of your roof over time.
- Environmental Impact: By using less energy, you’re reducing your home’s carbon footprint.
Now that you know why it matters, let’s get into how to insulate those rafters like a pro.
Step-by-Step Guide to Insulating Attic Roof Rafters
Step 1: Gather Your Essentials
Before you start, make sure you’ve got everything you need to tackle this project.
What You’ll Need:
- Insulation material (fiberglass batts, rigid foam, or spray foam are common options)
- A utility knife or insulation cutting tool
- Tape measure
- Safety goggles, gloves, and a dust mask
- A staple gun (if using batts)
- Vapor barrier (if required)
Get your tools together, and put on your safety gear—things are about to get hands-on!
Step 2: Choose the Right Insulation Material
Not all insulation is created equal, and the type you choose depends on your attic’s structure and your insulation goals.
- Fiberglass Batts: These are budget-friendly and easy to handle, making them ideal for first-timers.
- Rigid Foam Boards: Perfect for those who need higher thermal resistance in limited space.
- Spray Foam Insulation: Best for tight, hard-to-reach areas or for creating a complete seal, but it’s more expensive and may require professional application.
💡 Pro Tip: Check your local building codes to ensure that the insulation you choose complies with regional regulations and R-value requirements (thermal resistance).
Step 3: Measure and Cut Insulation
Now, it’s time to measure the space between your roof rafters. Use a tape measure to determine the width and length of each section and cut your insulation material to size.
Ensure the cuts are slightly wider than necessary, so the insulation fits snugly in place without sagging or leaving gaps.
Step 4: Install the Insulation
Depending on the type of insulation you’ve chosen, the installation process will vary slightly.
- For Fiberglass Batts: Gently press the batts into the spaces between the rafters. Use a staple gun to secure them in place if necessary.
- For Spray Foam: Follow the manufacturer’s instructions to apply the foam evenly. A thin layer will expand, so don’t overapply.
- For Rigid Foam: Push the board into place and secure it using fasteners or adhesive.
Focus on achieving an even, gap-free fit. Small cracks might seem insignificant, but they can lead to drafts and undo your hard work.
Step 5: Add a Vapor Barrier (If Required)
Depending on your climate, a vapor barrier might be necessary to protect your attic from moisture buildup. Lay the barrier over your insulation, securing it to the rafters using a staple gun or adhesive. This step is crucial for preventing condensation.
Step 6: Inspect Your Work
Once the insulation is in place, take the time to inspect your work. Ensure there are no gaps, sagging sections, or compressed insulation areas. Remember, insulation should be fluffy—compression reduces its effectiveness.
Bonus Step: Consider Adding a Finish Layer
Want to create extra storage space in your attic or a more polished look? You can install drywall or boards over the insulated rafters. This step is optional but can make your attic more functional.
Common Mistakes to Avoid When Insulating Rafters
Even the most well-meaning DIY projects can go sideways if you’re not careful. Here’s what to watch out for when insulating attic roof rafters.
- Skipping the Vapor Barrier: Ignoring this step in humid climates can lead to mold, rot, and insulation damage. Don’t skip it if it’s recommended for your area.
- Blocking Ventilation: Attics need airflow! Make sure your insulation doesn’t block soffit vents or ridge vents—these allow your roof to “breathe.”
- Using the Wrong Insulation Type: Double-check the R-value and suitability of your chosen insulation for your climate and attic construction.
- Insufficient Safety Gear: Always wear gloves, goggles, and a mask to protect yourself from irritation or inhaling fibers.
How Much Does It Cost to Insulate Attic Roof Rafters?
The cost of your project depends on the insulation material you select and the size of your attic.
- Fiberglass batts typically range from $0.40 to $2 per square foot.
- Rigid foam boards cost roughly $1.50 to $3 per square foot.
- Spray foam insulation may cost $3 to $5 per square foot but offers the greatest efficiency.
💡 Savings Insight: While the upfront cost may vary, proper insulation can reduce your energy bills by up to 20%!
Make Your Home Comfy and Efficient
Congratulations! You’re now equipped with all the knowledge you need to tackle attic rafter insulation like a pro. By insulating your attic rafters, you’re making an investment in a more comfortable, energy-efficient home.
Feeling inspired yet slightly overwhelmed? That’s okay—DIY doesn’t mean you have to go it alone. There are countless online resources, tools, and even contractors who can guide or support your insulation project.
Make sure to share your experience or any questions in the comments below—we’d love to hear about your attic improvement adventure!


