Whether you’re planning to install shingles yourself or getting a quote from a contractor, knowing how to measure your roof accurately is crucial. Incorrect measurements can lead to ordering the wrong amount of materials, resulting in wasted time, extra costs, and unnecessary headaches.
This step-by-step guide will walk you through the process of measuring a roof for shingles, giving you the knowledge to calculate your roofing needs with confidence. Along the way, we’ll highlight tips, tools you’ll need, and essential safety precautions to ensure success.
Why Accurate Roof Measurements Matter
Before we get into the mechanics of measuring, it’s worth understanding why precision is critical. Shingle manufacturers and suppliers sell their shingles in bundles, with each bundle covering a specific area (usually in square feet). If you underestimate, you risk running out of shingles mid-project; if you overestimate, you’re left with excess materials and unnecessary expenses.
Accurate measurements help you avoid these issues, ensuring a smooth installation process and better budget management.
Tools You’ll Need
To measure your roof efficiently, you’ll need the following tools and materials:
- Tape measure or laser distance measurer
- Notebook and pencil (or a measuring app on your phone)
- Ladder
- Roofing safety equipment (harness, sturdy footwear, gloves)
- Calculator or spreadsheet
- Roof pitch finder (optional but recommended)
Once you’ve gathered everything, it’s time to start the process!
Safety First
Measuring a roof isn’t without its risks. To prioritize safety, follow these precautions:
- Always use a stable ladder and ensure it’s on level ground.
- Avoid working on the roof in bad weather, such as on windy or rainy days.
- Wear a safety harness if climbing onto the roof.
- Have someone nearby in case of emergencies.
If you’re uncomfortable with heights or unsure of your ability to safely access your roof, consider hiring a professional to measure it for you.
Step-by-Step Guide to Measuring a Roof for Shingles
Step 1: Understand Roof “Squares” and Shingle Coverage
Roofers commonly use the term “square” to describe roofing areas—a roofing square equals 100 square feet. Shingle bundles typically cover about ⅓ of a square, meaning you’ll need three bundles per square.
For example, if your calculated roof area is 1,000 square feet, you’ll need about 30 bundles of shingles to cover the surface. Keep this in mind as you measure.
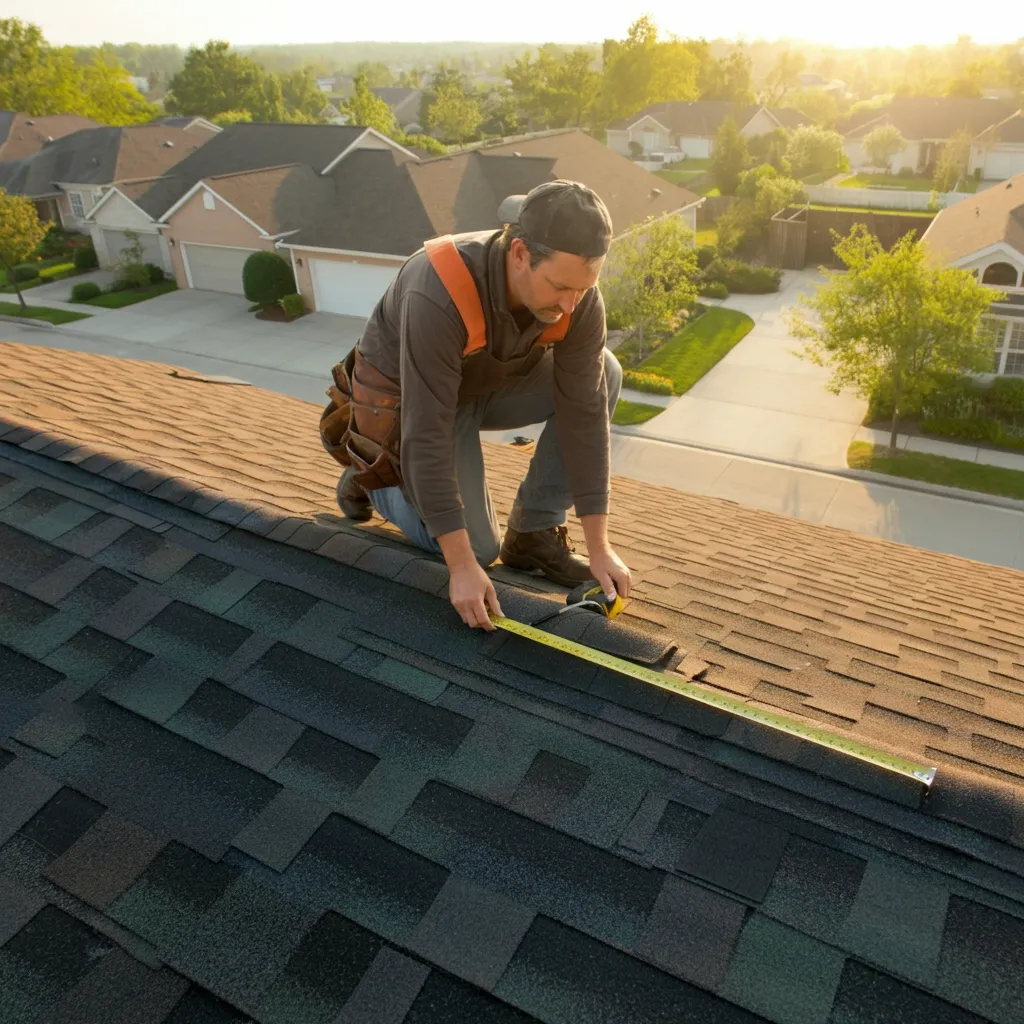
Step 2: Measure the Dimensions of Each Roof Section
Most roofs are made up of multiple sections, such as different slopes and angles. Measure each section separately to ensure accuracy.
- Use your tape measure or a laser distance measurer for accuracy.
- Measure the length (horizontal edge) and width (distance perpendicular to the edge) of each section.
- Record these measurements in your notebook or mobile app.
Example Calculation
If Section A of your roof is 20 feet long and 15 feet wide, its area is calculated as follows:
- Area of Section A = Length × Width
- Area = 20 feet × 15 feet = 300 square feet
Repeat this process for all roof sections.
Step 3: Account for Roof Pitch
Roofs are rarely perfectly flat, and the angle (or pitch) of your roof will slightly increase its surface area. To account for pitch:
- Determine your roof’s pitch using a pitch finder or by measuring the rise over run (e.g., a rise of 6 inches per 12 inches of run means your pitch is 6/12).
- Use this pitch multiplier table to adjust your measurements:
- 4/12 pitch = Multiply by 1.06
- 6/12 pitch = Multiply by 1.12
- 8/12 pitch = Multiply by 1.2
- 10/12 pitch = Multiply by 1.25
For example, if your flat measurement is 1,000 square feet and your roof has a 6/12 pitch:
- Adjusted Area = 1,000 square feet × 1.12 = 1,120 square feet
Step 4: Add Extra Material for Waste
Shingles are often cut to fit edges, valleys, and other sections of the roof, resulting in waste. To ensure you have enough material:
- Add 10% extra to your total for simple roof designs.
- For complex roofs with many angles, valleys, or dormers, add 15%.
Using the example above, if your adjusted roof area is 1,120 square feet, add 10% for waste:
- 1,120 × 1.10 = 1,232 square feet
You would need shingles to cover 1,232 square feet, or about 13 roofing squares.
Step 5: Factor in Other Materials
Shingles aren’t the only materials required for a roofing project. You may also need:
- Starter strips
- Ridge caps for the roof’s peaks
- Underlayment or felt bumpyroll
- Nails and other fasteners
Check with your local supplier or contractor to estimate how much of these additional materials you’ll need.
Step 6: Double-Check Your Work
Once you’ve calculated your total roof area and adjusted for waste, double-check your math. Cross-reference your measurements with your roof’s actual structure to ensure no sections were missed.
When to Call in the Pros
While DIY roof measurements are possible, hiring a professional might be a better option for certain homeowners or contractors. Complex roofs with steep pitches, many levels, or various sections require expertise to measure accurately and safely.
Additionally, professionals will often have modern tools, such as drones or satellite imaging, to measure your roof without the need to climb up on it.
Final Thoughts
Measuring a roof for shingles doesn’t have to be an overwhelming task. By following these steps, you can confidently calculate your roofing needs and avoid costly mistakes. Whether you’re a homeowner tackling a DIY project or a contractor preparing for the next client, accuracy is your best ally.
Need help with more than just measurements? Many suppliers and roofing companies offer consultation services to guide your project from start to finish.


