A roof leak can be every homeowner’s nightmare. That tiny drip can lead to bigger problems like water damage, mold, or expensive repairs if ignored. But don’t reach for your wallet just yet—repairing a roof leak yourself is easier than you might think. This guide will show you how to locate, fix, and prevent leaks, step by step. Whether you’re a seasoned DIY fanatic or a homeowner looking to save money, this blog has you covered.
Spotting the Drip: Where’s it Coming From?
Before you grab a ladder, start by identifying the source of the leak. Water travels, so the wet spot on your ceiling might not line up directly with the origin of the problem on your roof. Here’s how to pinpoint it efficiently:
- Step 1 – Look Indoors: Check for water stains, sagging ceilings, or peeling paint. These are key signs of a roof leak.
- Step 2 – Inspect the Attic: Using a flashlight, search for damp insulation, water stains, or obvious water trails above the wet spot.
- Step 3 – Hose Test: If you can’t locate the leak indoors, a helper can spray water over your roof while you observe from inside the attic. The leak should reveal itself quickly.
Tip: Keep track of the location once you spot it. Use chalk or masking tape to mark areas that need attention.
Gather Your Supplies Like a DIY Ninja
What’s a DIY mission without the right tools? Before you climb that ladder, gather these essential supplies to repair your roof leak like a pro.
Toolkit Checklist:
- Safety gear (helmet, gloves, and non-slip shoes)
- Ladder (preferably with stabilizers)
- Roofing nails or screws
- Hammer or drill
- Roofing adhesive or sealant
- Roofing tape or patches
- Measuring tape
- Utility knife
- Replacement shingles (if necessary)
Pro Tip: Buying high-quality materials can save you the hassle of repeat repairs later on.
Safety First: Gear Up and Stay Smart
Repairing a roof isn’t exactly like assembling IKEA furniture. It involves heights and tools, so practicing safety is non-negotiable.
- Check the Weather: Don’t attempt roof work on rainy or windy days—it’s dangerous.
- Gloves and Non-Slip Gear: Protect your hands from sharp edges and wear footwear with good traction.
- Ladder Safety: Ensure your ladder is on stable ground. A second person securing the base is highly recommended.
- Harness It: If your roof is steep, consider investing in a safety harness.
Having these measures in place can make the repair process both safer and less stressful.
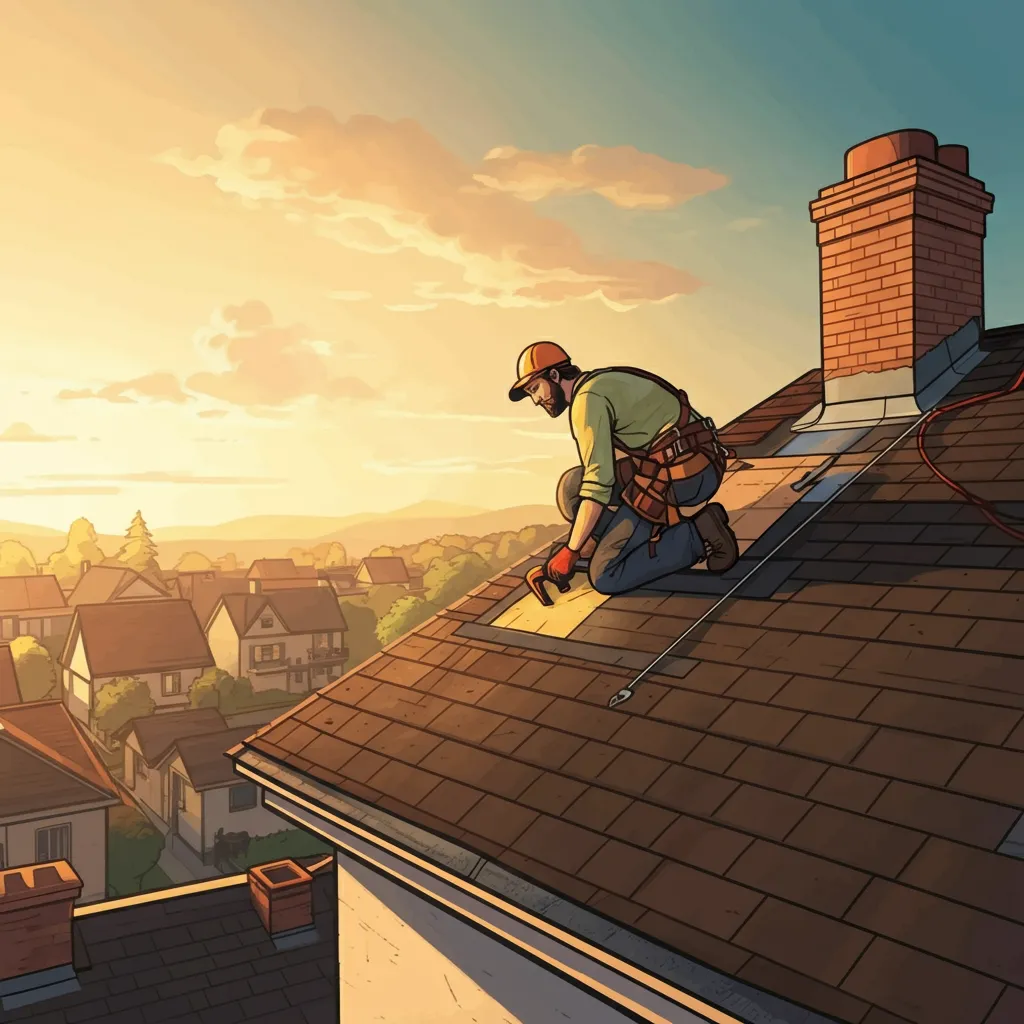
Time to Get Your Hands Dirty!
With your safety precautions in place, it’s time to dig into the repair. The approach will depend on the nature of the damage, so here’s a breakdown of common scenarios.
Scenario #1 – Minor Cracks or Holes:
- Clean the area using a utility knife; ensure there’s no debris.
- Apply roofing adhesive or sealant directly over the crack or hole.
- Smooth the sealant with a putty knife for even coverage.
Scenario #2 – Damaged Shingle:
- Pry up the edges of the damaged shingle with a flat bar.
- Remove any nails holding the shingle in place.
- Slide a new shingle into position and secure it with roofing nails.
Scenario #3 – Larger Patches or Tarps:
- Cut a piece of roofing tape or patch slightly larger than the damaged area.
- Apply adhesive generously around the area and place your patch over it.
- Press firmly to secure, and then seal edges with additional adhesive to make it watertight.
Patch It Up Like a Pro
Tidying up your repairs is just as important as making them. Once the repair is complete, double-check for air or water gaps. Use any leftover adhesive or sealant to ensure a snug, watertight finish.
Pro Tip: Take before-and-after pictures to keep track of your handiwork and monitor how well the fix holds over time.
When to Call in the Roof Wizards
Not every roof issue is suited for DIY methods. If you encounter any of these scenarios, it’s best to call in professional roofers:
- Damage spans a large area or structural issues are present.
- Water damage has already reached critical levels inside your home.
- Your roof’s pitch or height makes it unsafe for self-repair.
Hiring experts may cost more upfront, but it might save you from future headaches.
Keep Your Roof Healthy for Future Leaks
Prevention is the best cure, especially when it comes to roof maintenance. Follow these tips to prevent leaks in the future.
- Inspect Regularly: Check your roof at least twice a year and after severe weather.
- Clear Debris: Remove leaves, branches, and other debris to prevent water pooling.
- Trim Overhanging Trees: Falling branches can damage shingles and cause leaks.
- Clean Gutters: Blocked gutters lead to standing water, which weakens your roof over time.
You Did It! Celebrate Your Roof Victory!
Congratulations! You’ve successfully identified and repaired your roof leak. DIY isn’t just about saving money; it’s also about the satisfaction of solving problems on your own. Fire up the grill or pour a celebratory drink—you’ve earned it.
Roof Repair Mastery Is Just the Beginning
Don’t stop here. Share your newfound roof repair wisdom with friends and family or use it as momentum to tackle other home improvement projects.
For more expert DIY guides, check out our blog for resources tailored for homeowners like you.

