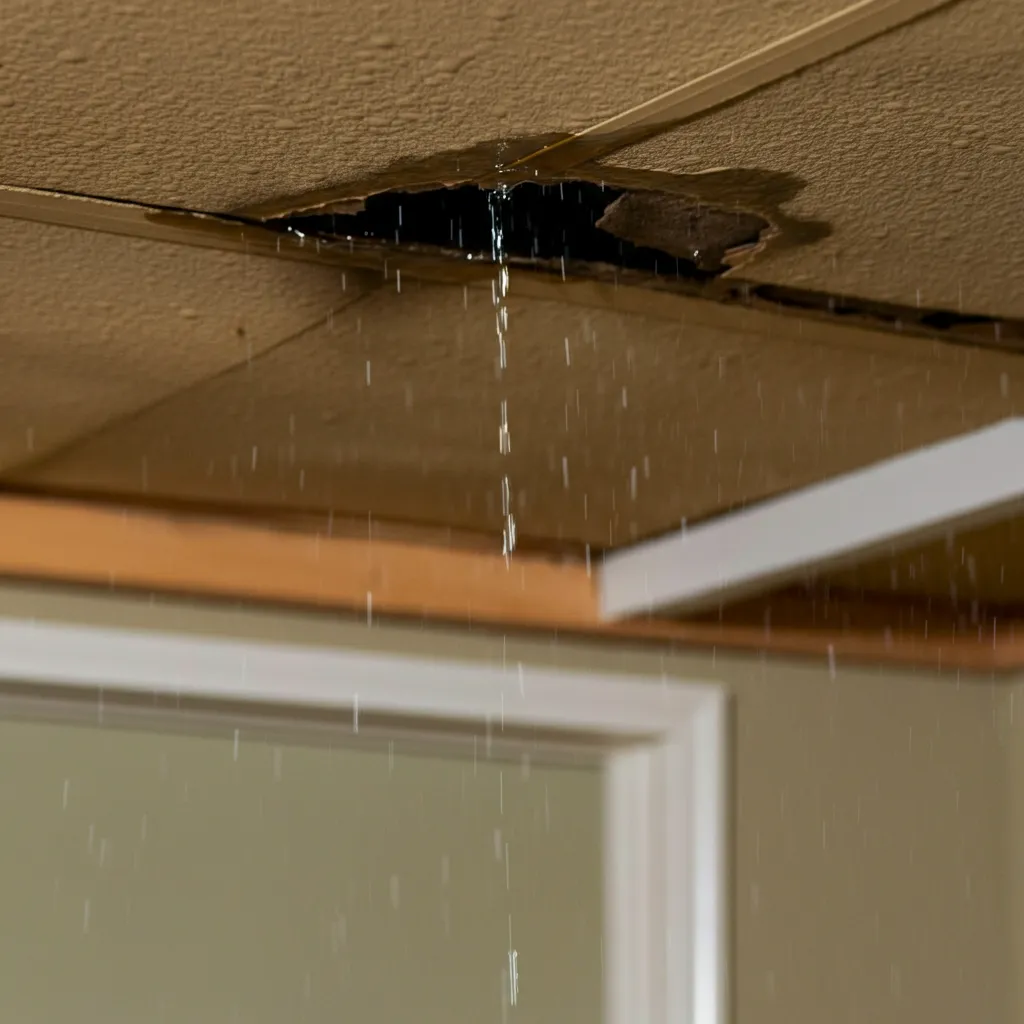
There you are, sitting in the comfort of your home, when you notice it—a dark, ominous spot forming on the ceiling. Moments later, the telltale drip-drip of water confirms your worst fears. A leaking roof is every homeowner’s nightmare, but before you panic, take a deep breath. With a little know-how and the right tools, you can temporarily tackle the problem from the inside until a more permanent solution can be put in place.
This guide will walk you through the process of identifying, patching, and safeguarding your roof leak—providing you with clear steps to prevent further damage and practical advice that even first-time DIYers can follow. Grab your tools (and maybe a bucket to catch those drips!), and let’s get started!
The Dangers of a Leaky Roof
A leaking roof might seem like a small issue at first, but it can quickly spiral into a disaster if left unchecked. Prolonged leaks can lead to:
- Structural Damage – Water seeping into the frame can weaken the structural integrity of your home, causing beams and walls to rot.
- Mold and Mildew Growth – Damp environments are breeding grounds for harmful mold and mildew, which can pose health risks to you and your family.
- Electrical Hazards – When water and wiring mix, there’s a real risk of electrical shortages or even fires.
Addressing a leaking roof promptly is critical—not only to protect your property but also to ensure the safety and well-being of everyone living under it.
Identifying the Source of the Leak
First things first—you need to figure out where the water is coming from. This part can feel like detective work, so channel your inner Sherlock Holmes! Start by inspecting the following areas inside your home:
- Ceiling Stains – Look for water stains or discoloration, as these often point directly to the leak source.
- Walls and Corners – Water can travel along beams or pipes, so don’t limit your inspection to just above the stain.
- Attic or Crawl Space – If accessible, head up to the attic with a flashlight. Look for visible drips, damp spots, or even daylight peeking through holes.
If you’re having trouble pinpointing the exact spot, wait for the next rainstorm or gently spray your roof with a garden hose while someone monitors the inside for leaks. Teamwork makes the dream work!
Gathering Essential Tools and Materials
Now that you’ve found the culprit, it’s time to collect your arsenal of tools and materials. Here’s what you’ll need for a temporary roof repair from the inside:
- Bucket or Container (to catch leaking water)
- Plastic Sheeting or Tarp
- Caulk and Caulking Gun
- Roofing Tape
- Utility Knife or Scissors
- Roofing Repair Kit (for larger holes)
- Insulation Material (optional)
- Rags or Towels (because things might get messy!)
Preparing Your Space for Repairs
Before jumping in, it’s crucial to prep your workspace to prevent further damage and make repairs easier to manage.
- Clear the Area – Remove any valuables from beneath the leak and protect the floor with tarpaulin or old towels.
- Catch the Water – Place a bucket or container directly under the leak to collect water and keep things dry.
- Dry the Leak Area – Use rags or towels to blot excess water from the damaged area. A dry surface makes repairs much more effective!
Sealing Small Leaks with Caulk
For minor leaks or small cracks, caulk can be a quick and effective fix. Follow these steps:
- Apply roofing caulk directly to the leak area using a caulking gun.
- Smooth it out with a putty knife or your fingers to ensure a watertight seal.
- Allow the caulk to cure as per the product’s instructions—basic repairs, done!
This quick fix might not last forever, but it should hold until you address the problem externally.
Patching Larger Holes with Repair Kits
If your roof has a larger hole or more significant damage, you’ll need a repair kit. These kits often come with a patching material and adhesive to seal the hole effectively.
- Cut the patch material to size, ensuring it covers the entire hole with some extra overlap.
- Apply the adhesive to the back of the patch and press it firmly over the hole.
- Secure the edges with roofing tape for extra reinforcement.
Voila! Your roof should now be leak-free—for the time being.
Insulating Against Future Water Damage
Once the immediate problem is addressed, consider adding insulation to prevent further damage. Using materials like fiberglass or foam insulation can create a protective barrier, safeguarding your home from moisture and thermal fluctuations. If you’re not sure where to place insulation, consult a professional.
Checking for Mold and Mildew Risks
Repairing the leak itself is only part of the solution—don’t forget to assess the surrounding area for mold and mildew growth! Make it a habit to check for the following signs in your ceiling and walls after water damage occurs:
- Musty odor
- Black, green, or white spots
- Lingering dampness
If you spot any troubling signs, act immediately to clean and treat the affected areas with bleach or mold remover. For larger infestations, it’s best to call in professional mold remediation services.
When to Call in the Professionals
While it’s tempting to flex those DIY muscles, not all roof leaks can (or should) be fixed from the inside. If you’ve tried the above methods but the leak persists—or if you notice serious structural damage—it’s time to seek help from professionals.
Warning signs that require expert attention include sagging ceilings, large holes, or recurring leaks despite temporary fixes. Save yourself time, money, and stress by calling in a trusted roofing contractor to handle the job properly.
Reflecting on Your Home Repair Journey
Congratulations—you’ve taken the first step in protecting your home from water damage! From identifying leaks to sealing and insulating, you’ve gained valuable skills to handle emergency repairs like a pro. Remember, these temporary fixes buy you time but may not solve the root issue.
If you’re a homeowner who values peace of mind, schedule regular roof inspections to catch potential problems early. And for the ultimate defense against leaks, ensure your roof is maintained and repaired by experienced professionals.
Your roof is your home’s crown jewel—take good care of it, and it will take care of you!


