Whether you’re road-tripping in your RV, working on a DIY camping project, or just learning the ins and outs of roof maintenance, understanding the role of a drip edge is essential! This small but mighty component plays a crucial role in protecting your roof from the elements. Curious about what a drip edge is, how it works, and why it matters? Stick around—we’re breaking it all down in the clearest, most DIY-friendly way.
The Basics of Drip Edges
What Is a Drip Edge?
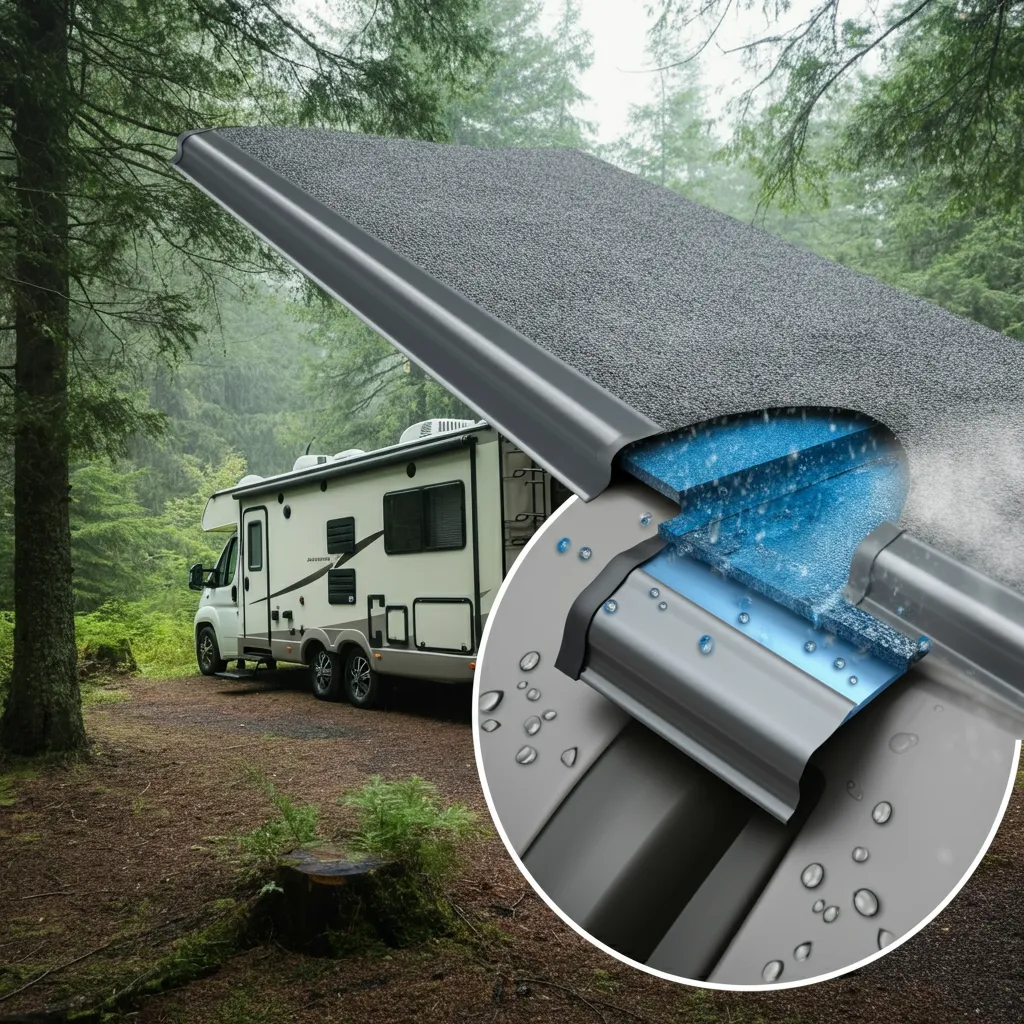
Simply put, a drip edge is a piece of angled flashing installed along the edges of a roof. It’s designed to guide water away from the roofline, directing it into the gutter system instead of allowing it to seep into the underlying materials. Think of it as a protective barrier that acts like a raincoat for your roof!
Drip edges are typically installed on the roof’s eaves and rakes—areas that are particularly vulnerable to water damage. Whether it’s your suburban home or your trusty RV, drip edges ensure the longevity and durability of your structure’s topmost layer.
The Purpose of a Drip Edge
Why is this tiny piece of material so important? The primary purposes of a drip edge include the following:
- Deflecting Water: Keeps water from running down the face of your roofline and damaging your fascia or siding.
- Blocking Critters: Acts as a barrier that prevents insects, rodents, and other critters from sneaking under your roof shingles.
- Improving Durability: Shields the roof’s edge from wind damage, ensuring shingles don’t lift over time.
While it might seem small, a drip edge works tirelessly, protecting the structure from external wear and tear.
Common Materials Used for Drip Edges
Drip edges are available in a variety of materials suited to different preferences and budgets. Here’s a quick glance at the most commonly used options:
- Aluminum: Lightweight, versatile, and resistant to rust, making it a popular choice for RV owners and homes alike.
- Galvanized Steel: Known for its strength and durability, steel is perfect for harsh environments but may require extra effort to prevent rust over time.
- Copper: A premium option that’s durable and visually appealing, though it comes at a higher price.
If you’re planning a DIY installation, aluminum may be your best bet due to its easy handling and resistance to the elements!
How Drip Edges Protect Your Roof
Here’s the thing about water—it doesn’t just fall neatly into one spot. Rainwater can trickle down, splash back, and even sneak into gaps. Without a drip edge, water finds its way under your roofing materials, leading to moisture buildup, rot, mold, and costly repairs.
For RV enthusiasts, this is especially important. Accumulated water and leaks can wreak havoc on your RV’s smaller, more compact roofing system. And when you’re living life on the move, unexpected roof problems can really rain on your parade (pun intended!).
Installation of Drip Edges
A Key Consideration for DIYers
Are you the hands-on, “I-can-handle-this” type? Good news—a drip edge isn’t intimidating to install, even for first-timers. The key is proper placement. Follow these general steps:
- Choose the Right Drip Edge Material: Select one that suits your climate and roofing style.
- Overlapping for Coverage: Overlap the pieces to avoid any gaps where water could sneak through.
- Secure Placement: Use roofing nails or adhesive to hold the drip edge firmly in place.
- Position Properly: Place the drip edge beneath the roofing felt for extra protection.
If this seems like a bit much, hiring a professional can ensure a flawless installation and save you time.
Maintenance Tips for Longevity
Much like you wouldn’t skip RV oil changes, drip edges require a bit of TLC to maintain their protective function. Take note of these tips for keeping them in tip-top shape:
- Inspect Regularly: Check for signs of rust, dents, or dislodged edges every six months.
- Clear Your Gutters: Clogged gutters can lead to water backups, diminishing the effectiveness of the drip edge.
- Repaint When Necessary: Keep your drip edge looking sharp with occasional repainting and rust-proof coatings.
Signs You Need a New Drip Edge
Spotting issues early can save you from costly repairs later. Here are some telltale signs you might need to replace your drip edge:
- Water stains or streaking along your roofline
- Visible rust or corrosion on the drip edge
- Warped or missing sections of the drip edge
- Persistent roof leaks even after gutter cleaning
If any of these sound familiar, it’s time to take action!
Cost Factors to Consider
The cost of a drip edge project varies depending on:
- The material you choose (e.g., galvanized steel is cheaper than copper).
- Labor costs if you hire a professional.
- The size of your roof space.
On average, you might pay $1–$2 per linear foot for materials. DIY installation can help reduce this cost significantly!
Expert Opinions on Drip Edges
Roofing pros universally advocate for drip edges as a critical, non-negotiable roofing component. Why? Their simplicity and effectiveness are unmatched.
“Drip edges are like unsung heroes—they don’t just protect your roof but also prevent small issues from escalating into large problems,” explains Jane Smith, a roofing contractor with 15+ years of experience.
Why Drip Edges Matter
Protecting your roof (whether at home or on your RV) is about more than just shingles and gutters. A drip edge might seem like a minor detail, but it’s one that prevents major damage, helping you save money, time, and energy in the long run.
Whether you’re cruising the open road or preparing for the next DIY project, don’t overlook the importance of a properly installed, well-maintained drip edge. Trust us—it’s worth it.


