When it comes to roofing your home, it’s easy to focus on the big, visible components like shingles or gutters. But there’s an unsung hero in your roofing system that plays a vital role in keeping your home safe from water damage and preserving the structural integrity of your roof—the drip edge.
This blog will break down everything you need to know about drip edges. You’ll learn what they do, why they’re essential, the different types available, materials used, how they’re installed, and how to spot when they need replacement. Whether you’re a homeowner, DIY enthusiast, or roofing contractor—this guide is tailored to you.
What Is a Drip Edge and Why Does It Matter?
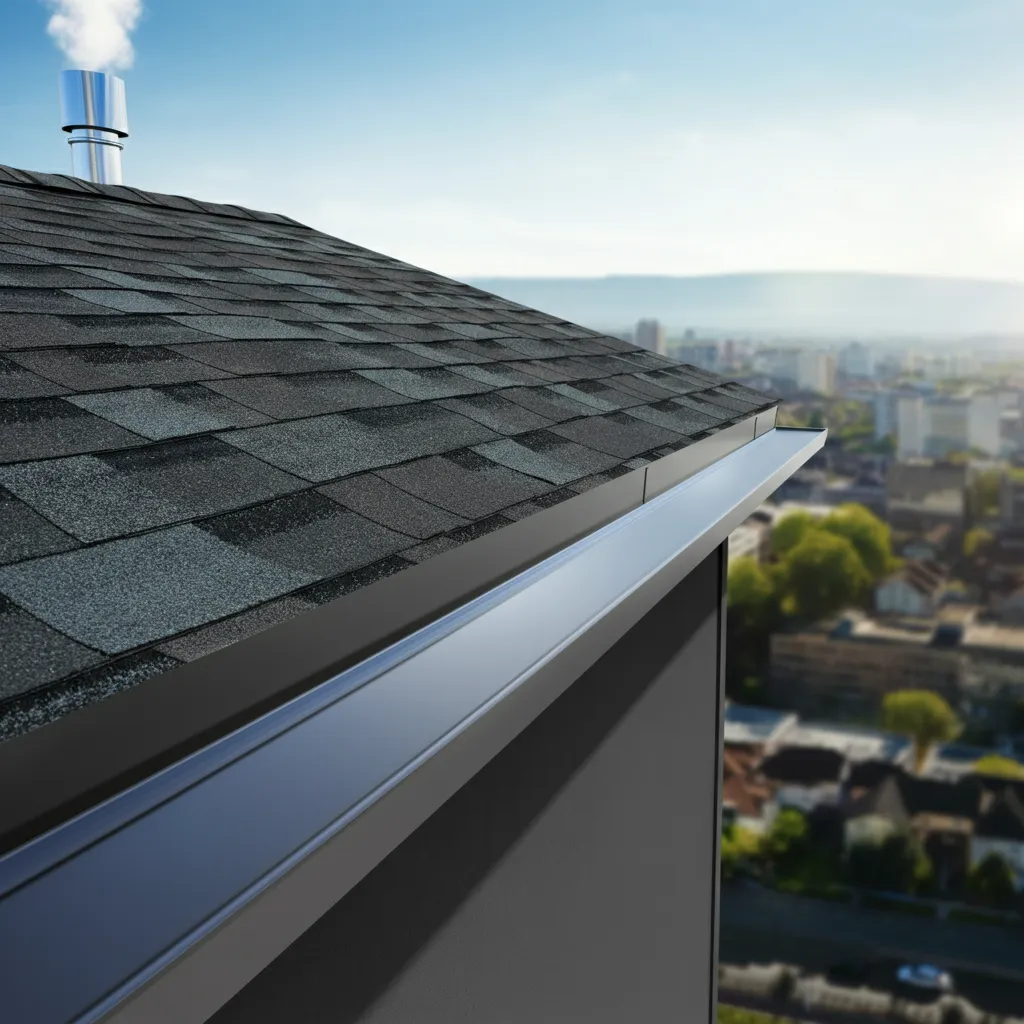
A drip edge is a thin strip of metal flashing installed along the edges of your roof. Its purpose is both practical and protective. It directs water away from the fascia board and underlying roof structures, ensuring moisture doesn’t seep into vulnerable areas.
Without a drip edge, rainwater can end up flowing behind your gutters, pooling around your roofline, and causing problems like rotting wood, mold growth, and even foundation erosion. Essentially, the drip edge acts as a safeguard for your roof, extending its lifespan and reducing the need for costly repairs.
Why It Matters
- Protects Vulnerable Areas: Prevents water from seeping into the fascia, soffits, or decking beneath the shingles.
- Prevents Costly Repairs: Stops moisture-related damage such as wood rot and mold that can weaken your roof over time.
- Ensures Proper Water Runoff: Guides water directly into the gutters, keeping your home structurally sound and dry.
Benefits of a Drip Edge on Your Roof
Adding a drip edge is a small investment with significant benefits. Here’s a closer look at why it’s a must-have roofing component.
- Effective Water Management
A drip edge ensures water flows into your gutters and downspouts rather than trickling behind them. This prevents water from pooling near the foundation of your home.
- Prevents Erosion
By stopping water from seeping under the shingles or along the roofline, a drip edge protects underlying materials like wood decking and insulation from erosion.
- Enhances Roof Longevity
Since drip edges prevent the accumulation of water, your roof materials are less likely to suffer from premature wear and tear.
- Improves Aesthetics
Drip edges provide a clean, finished look to your roofline, giving your home a polished curb appeal.
- Building Code Compliance
Many modern building codes require the installation of a drip edge on new roofs. Having one ensures you’re meeting local requirements and maintaining the value of your property.
Types of Drip Edges
Drip edges come in a variety of designs, each suited to specific roofing needs. Here are the three most common types to consider:
1. Type C (L Drip Edge)
- Description: Bent at a 90-degree angle, this simple and widely used drip edge is easy to install.
- Best For: Standard roofing projects where no extensive adjustments are needed.
2. Type D (T Drip Edge)
- Description: Features a curved design that improves water redirection, ensuring it flows directly into the gutters.
- Best For: Larger roofs or areas where heavy rainfall is common.
3. Type F (Fascia Style Drip Edge)
- Description: Extended flange that provides greater coverage, often used in reroofing projects.
- Best For: Homes with steep rooflines or where fascia protection is a priority.
Pro Tip
When selecting a drip edge, consider factors such as your roof type, climate conditions, and the material compatibility with your roof and house structure.
Materials Used in Drip Edges
Drip edges are made from materials designed to withstand the elements. Here’s a rundown of the most common options and their pros and cons.
1. Aluminum
- Pros: Lightweight, corrosion-resistant, and widely available.
- Cons: Not as strong as steel, can dent easily under pressure.
2. Galvanized Steel
- Pros: Durable and stronger than aluminum, making it ideal for long-term protection.
- Cons: Prone to rust if not properly coated or maintained.
3. Copper
- Pros: Extremely long-lasting, doesn’t corrode, and adds a premium aesthetic to your roof.
- Cons: Expensive compared to other options.
How to Install a Drip Edge
While it’s recommended to hire a professional roofer for drip edge installation, confident DIYers can handle this task with the right tools and techniques.
Step-by-Step Installation
- Prep the Roof Edges
Ensure the roof edges are clean and free of debris. Measure and cut the drip edge to fit the edges of your roof.
- Position the Drip Edge
Align the drip edge so it extends slightly over the edge of the roof and overlaps the gutters.
- Nail into Place
Using galvanized roofing nails, secure the drip edge to the roof sheathing, spacing the nails about 8–10 inches apart.
- Overlap Pieces
Where segments of the drip edge meet, allow a 2-inch overlap to ensure proper water flow.
- Check Alignment
Ensure the drip edge is positioned correctly to direct water effectively into the gutters.
DIY Tip
If you’re new to roofing projects, it’s best to start with small sections or work under the guidance of an experienced professional.
Signs Your Drip Edge Needs Replacement
Drip edges are sturdy but not immune to wear and tear. Keep an eye out for these warning signs that indicate it may be time for a replacement.
- Water Stains or Rot
If you notice water damage along the roofline or fascia, your drip edge may not be functioning properly.
- Loose or Damaged Gutters
Sagging gutters pulling away from the roof can signal improper water flow caused by a faulty drip edge.
- Rust or Deformities
Visible rust, dents, or warping of the metal indicate that the drip edge has reached the end of its lifespan.
FAQs About Drip Edges
Do all roofs need a drip edge?
Yes! Even older homes benefit from having a drip edge installed, as modern building codes often mandate it.
Can you add a drip edge to an existing roof?
Yes, but it’s often more complex than installing it on a new roof. Hiring a professional is usually the best route.
How much does a drip edge cost?
Prices vary depending on the material and roof size, but you can expect to pay between $1.50 and $3 per linear foot.
Protect Your Roof, Enhance Your Home
A drip edge may be a small part of your roofing system, but its impact is immense. From protecting your home from water damage to enhancing its longevity and aesthetics, this humble component is an essential investment for every homeowner.
If your roof lacks a drip edge or needs replacement, don’t wait—prioritize it as part of your roofing maintenance or renovation plans. Want expert help? Contact local roofing professionals or explore our resources to learn more about protecting your home’s most vital structures.


