Proper roof ventilation is essential for maintaining a healthy, energy-efficient home. Turbine vents are one of the most effective and budget-friendly options for regulating attic ventilation. They allow hot, moist air to escape, which can reduce cooling costs, prevent mold growth, and extend the life of your roof.
Whether you’re a homeowner ready to tackle your first DIY project, a roofing enthusiast brushing up on skills, or a contractor looking for a refresher, this guide walks you through the step-by-step process of installing a turbine vent on your roof.
What is a Turbine Vent, and Why Do You Need One?
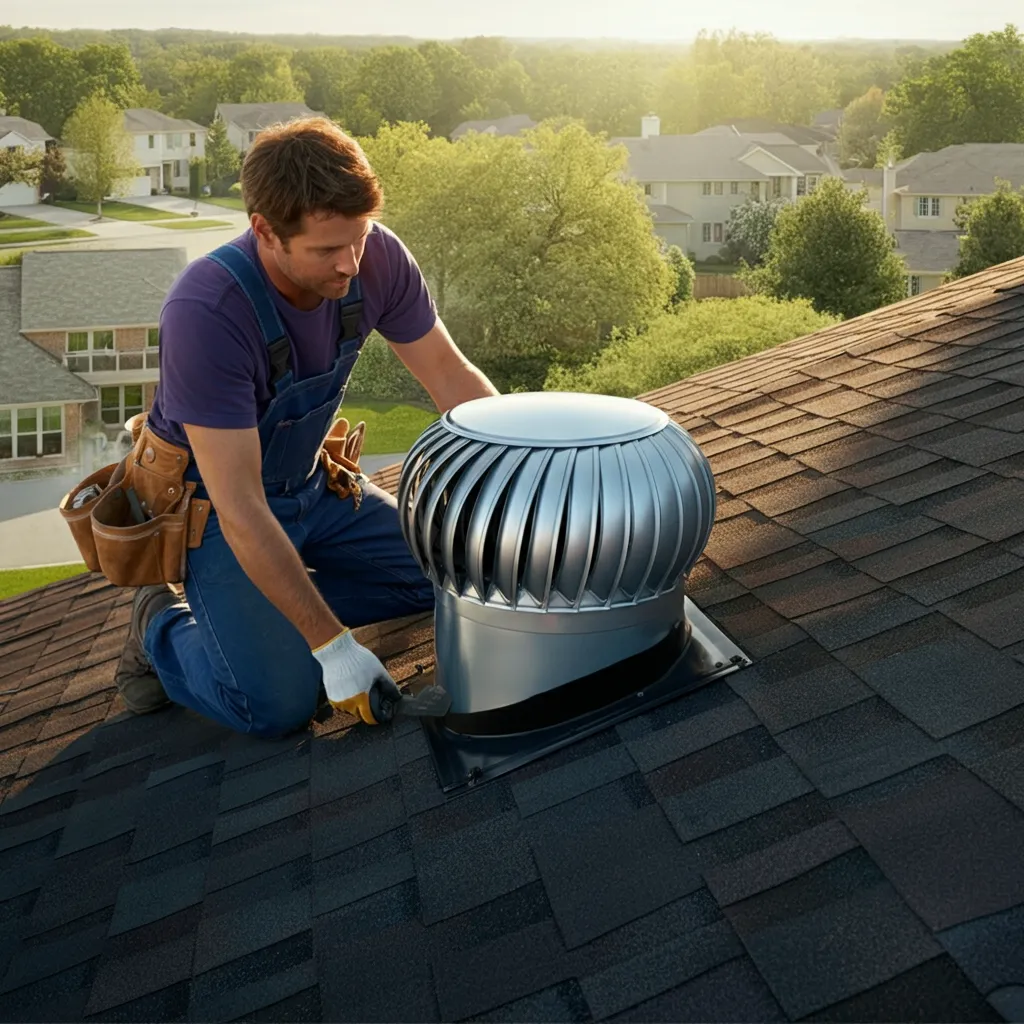
A turbine vent, also called a “whirlybird,” is a type of roof vent that uses wind power to draw warm air out of an attic. Its sleek, rotating design harnesses the natural movement of air to spin the vent, creating suction to remove stale, hot air from inside your home. Turbine vents are low maintenance, cost-effective, and energy-efficient since they don’t require electricity to operate.
Benefits of installing a turbine vent include:
- Improved Energy Efficiency: Keeps hot air out of the attic, reducing your home’s cooling costs.
- Mold and Moisture Prevention: Helps eliminate excess moisture, reducing the risk of mold growth and wood rot.
- Extended Roof Lifespan: Proper ventilation prevents heat damage to roofing materials.
- Year-Round Comfort: Maintains balanced airflow in summer and winter, keeping your home comfortable.
Now that you understand the importance of a turbine vent, let’s move on to the installation process. Here’s all you need to know.
Things to Consider Before Installation
Before you begin installing a turbine vent, make sure to prepare yourself and familiarize yourself with some key points:
Do You Need One Turbine Vent or More?
The number of vents depends on the size of your attic. On average, you need one turbine vent for every 300–400 square feet of attic space. For larger homes, installing two or more vents ensures adequate airflow.
Choose the Right Spot on Your Roof
Turbine vents should ideally be placed high up on your roof, near the ridge line, to maximize airflow. Avoid low placements, as they will be less effective at drawing out hot air. Ensure they’re evenly spaced if installing multiple vents.
Safety First!
Roof installation requires working at heights, so take proper precautions. Use a sturdy ladder, wear non-slip shoes, and consider a safety harness if your roof is steep.
Tools and Materials You’ll Need
To install a turbine vent, gather the following tools and materials:
- Turbine vent (and base flashing if not included)
- Ladder
- Measuring tape
- Roofing nails
- Hammer
- Electric drill
- Reciprocating saw or jigsaw
- Roofing sealant
- Roofing shingles (for adjustments, if needed)
- Chalk or marker
- Safety gear (gloves, harness, and non-slip shoes)
Step-by-Step Guide to Installing a Turbine Vent
Step 1: Locate the Placement
Start by identifying the ideal spot for the turbine vent. Measure 18–24 inches below the ridge line of your roof. Mark the spot with chalk or a marker. Ensure the location is free of obstructions like wiring, ductwork, or pipes in the attic.
Step 2: Mark the Opening
Using the base of your turbine vent as a guide, trace a circle where the vent will be installed. Most turbine vents require a hole size of approximately 12 inches, but always refer to the manufacturer’s instructions for accuracy.
Step 3: Cut the Hole
Carefully cut along the traced circle using a reciprocating saw or jigsaw. Wear gloves and safety goggles to protect yourself from falling debris. Take your time to ensure clean, even edges.
Step 4: Install the Base Flashing
Place the base flashing of the vent over the hole, ensuring it aligns properly. Lift the surrounding shingles gently to slide the flashing underneath for a secure fit.
Secure the flashing with roofing nails. Place nails around the edge of the flashing and ensure they are driven tightly to avoid any gaps.
Step 5: Attach the Turbine Vent
Attach the turbine mechanism to the base according to the manufacturer’s instructions. Some vents may click or screw into place. Double-check that the turbine spins freely once attached.
Step 6: Seal Gaps and Secure Shingles
Apply roofing sealant around the edges of the flashing and nails to create a watertight seal. Replace and adjust shingles around the vent to blend seamlessly with your roof.
Step 7: Test the Vent
Finally, give the turbine a test spin! Make sure wind or a light force causes it to rotate smoothly. Inspect the area for any gaps or loose shingles.
Common Mistakes to Avoid
While installing a turbine vent is a straightforward process, avoid these common pitfalls:
- Incorrect Placement: Installing the vent too low on the roof reduces its effectiveness. Always aim for a high position near the ridge line.
- Insufficient Ventilation: If your attic is large, one vent may not provide enough airflow. Be sure to calculate your attic space and install additional vents if needed.
- Improper Sealing: Failing to seal the vents properly can result in leaks during rain or snow. Use high-quality roofing sealant to prevent water damage.
When to Call a Professional
If your roof has a steep pitch or you’re uncomfortable working at heights, consider hiring a roofing contractor to install the turbine vent. Professionals have the tools and expertise to ensure a safe and secure installation.
Making a Choice That Benefits Your Home
A properly installed turbine vent offers long-term benefits, from lower energy bills to a longer-lasting roof. By following these steps, you can achieve a healthier and more comfortable home environment.
For homeowners and contractors alike, installing a turbine vent isn’t just a maintenance task—it’s an investment in the long-term efficiency and health of your home.


