Sunlight is free, abundant, and eco-friendly. No wonder more people are turning to solar energy for their power needs. If you have a metal roof and are ready to harness the sun’s power, you’re in luck! Metal roofs and solar panels are a match made in energy-efficiency heaven. This guide will walk you through everything you need to know about installing solar panels on a metal roof, step by step, with handy tips and all the safety advice you need. Let’s transform your roof into an energy-generating powerhouse!
Why Metal Roofs Are Solar’s Besties
Before we jump into the nitty-gritty details, why are metal roofs such a great choice for solar panels?
- Durability: Metal roofs can last anywhere from 40 to 70 years, easily outlasting asphalt shingles. This longevity pairs perfectly with solar panels, which typically last for 25-30 years.
- Eco-Friendly Material: Metal roofs are often made from recyclable materials, complementing solar energy’s green benefits.
- Ease of Installation: Most metal roofs are designed with grooves or standing seams, making it simpler to attach panel mounts without perforating the structure.
- Energy Efficiency: Reflective coatings on metal roofs can reduce heat build-up, preventing your panels from overheating and boosting efficiency.
Now that we’ve sold you on the magic of metal roofs and solar panels, it’s time to get started with your very own installation project.
Gather Your Tools Like a Boss
Before you climb that ladder, make sure you have everything you need within arm’s reach. Here’s a checklist of essential tools and materials:
- Solar panels
- Mounting hardware (specific to your roof type, such as clamps for standing seams)
- Drill and bits
- Wrenches and screwdrivers
- Ladder or scaffolding
- Personal protective equipment (PPE) like gloves, goggles, and a safety harness
- Wiring kit (including cables, connectors, and an inverter)
- Measuring tape and chalk for marking placement
- Voltage meter for testing connections
Having the right tools on hand from the start will save you time and frustration during installation.
Safety First: Don’t Be That Person
Roof work can be risky, so safety isn’t optional—it’s essential. Here’s how to stay safe while bringing your solar project to life:
- Use a quality safety harness and secure it to an anchor point on the roof.
- Never work alone—have a buddy nearby for support or emergencies.
- Avoid installation on windy or wet days to prevent accidents.
- Wear non-slip shoes designed for working on roof surfaces.
- Follow your roof manufacturer’s guidelines to avoid damaging the surface while working.
A safe installation keeps you and your project on track. Don’t cut corners when it comes to protection!
Step-by-Step Guide to Installation
Step 1. Start with a Plan
Determine the best placement for your solar panels. Identify the areas of your roof that receive the most consistent sunlight. South-facing sections are typically ideal.
- Use your chalk and measuring tape to mark where the panels will go.
- Ensure the locations allow enough space for optimal sun exposure and easy wiring paths.
Step 2. Install the Mounting Hardware
For most metal roofs, you’ll use either clamp-based mounts for standing seam roofs or rail-based systems for corrugated metal panels.
- Standing Seam Metal Roofs:
- Attach clamps directly to the seams. These clamps do not require drilling, so your roof’s structural integrity remains intact.
- Corrugated Metal Roofs:
- Secure L-brackets over raised ridges. This ensures water flows around the mounting points rather than pooling.
Always follow the manufacturer’s instructions to properly fix the mounting hardware.
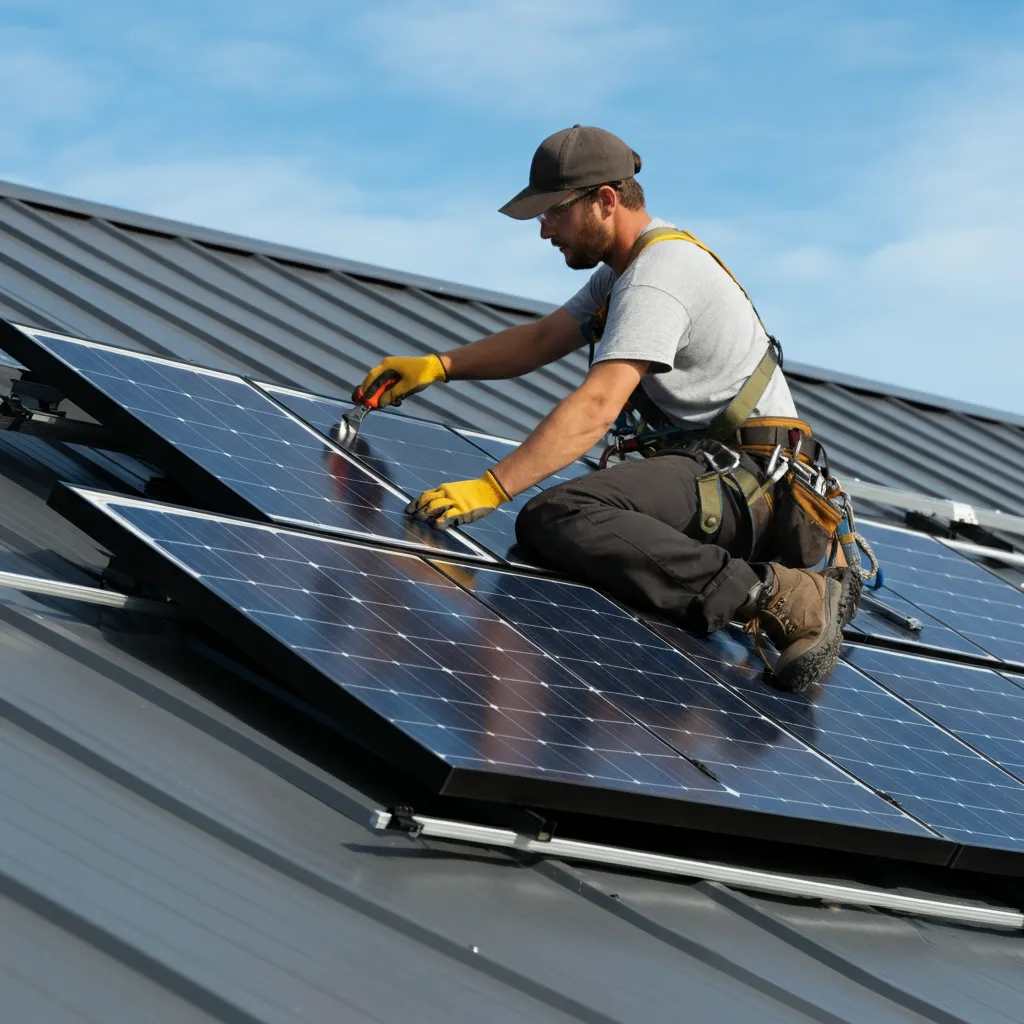
Step 3. Attach Solar Panels
Once the mounting system is in place, it’s time to attach your panels.
- Carefully lift each panel onto the roof.
- Secure the panels to the mounting hardware using bolts or clamps provided in your kit. Double-check each connection for stability.
Tip: Keep the angle of your panels in mind. Positioning them at an optimal tilt (often between 30 and 45 degrees) increases their efficiency in capturing sunlight.
Step 4. Make Electrical Connections
Now that your panels are mounted, connect the wiring:
- Hook up the panels in series or parallel, depending on your system requirements.
- Use appropriate connectors to link the panels to the inverter, which converts solar energy into usable electricity.
- Seal all connections to protect them from water damage.
Step 5. Test Your Setup
Grab your voltage meter and ensure the system is functioning properly.
- Check that all connections are secure, and there are no loose wires.
- Test the inverter output for consistent energy flow.
If you run into any issues during the testing phase, review your wiring and system configuration to troubleshoot.
Securing Panels Against The Elements
Strong winds and harsh storms can loosen solar panels if they’re not properly secured. Use the following tips to ensure your panels stay put:
- Use heavy-duty clamps or bolts that meet industry standards for wind resistance.
- Check for loose or under-tightened bolts before completing the installation.
- Inspect your panels periodically, especially after severe weather, to ensure everything is still secure.
Maintenance Tips for Solar Superstars
Congratulations! Your solar panels are up and running. But a little routine maintenance will keep them performing at their best.
- Clean Panels Regularly: Dust, bird droppings, and debris can reduce efficiency. Use a soft cloth or sponge with water to keep them spotless.
- Monitor Performance: Keep an eye on your inverter’s output to detect drops in performance early.
- Inspect for Damage: Check for cracks, corrosion, or loose bolts at least twice a year.
By staying proactive with care, you’ll enjoy consistent energy savings for years to come.
Power the Planet—and Your Home
Installing solar panels on a metal roof isn’t just a home improvement project; it’s a leap toward energy independence and a better planet. This guide has given you the confidence to plan and execute your installation with ease. By going solar, you’re not just lowering electricity bills—you’re saving the environment, one kilowatt at a time.
If you’re still not sure you’re ready to tackle the project solo, consult a local solar professional to help you out. Either way, you’re officially on the path to greener living and glowing savings.
Power up, and shine on!


