Welcome to the World of Shingling Hammers
If you own an RV, love a good DIY challenge, or simply enjoy spending time outdoors, learning to use a shingling hammer could be your next big feat. Ever looked at a roof and thought, “I could fix that”? Well, with the right tools and techniques, you absolutely can.
This guide dives into what makes a shingling hammer special, how to use it efficiently, and why mastering this skill is a win for DIY enthusiasts and camping lovers alike. Grab your hammer—we’re about to turn you into a shingling master!
What the Heck is a Shingling Hammer?
Before we jump into techniques, let’s start with the basics. A shingling hammer, also known as a roofing hammer, is a multifunctional tool designed to help you install shingles—a common roofing material. Think of it as a Swiss Army knife for roof work.
Not only does it act as a hammer to secure nails, but it also features a sharp, hatchet-like edge for cutting roofing materials. Some even include a built-in gauge to measure the shingle spacing, allowing for precision placement every time.
Simply put, it’s more than just a hammer—it’s the ultimate roofing companion.
Essential Features of a Shingling Hammer
A good shingling hammer isn’t just another tool in your DIY arsenal—it’s a game-changer. Here are the key features that make it so useful:
- Dual Heads: Most shingling hammers have one flat surface for pounding nails and a sharp hatchet side for cutting shingles cleanly.
- Nail Puller: Notice the notch near the hammerhead? That’s for pulling out misplaced nails with ease.
- Built-in Gauge: Many shingling hammers include an adjustable gauge for perfect shingle spacing. No need for separate rulers or guesswork!
- Lightweight Design: Most are lightweight yet durable, making them perfect for extended use without tiring your arms.
When shopping for one, look for brands like Estwing or Stiletto—they’re well-known for reliable and ergonomic hammers that last for years.
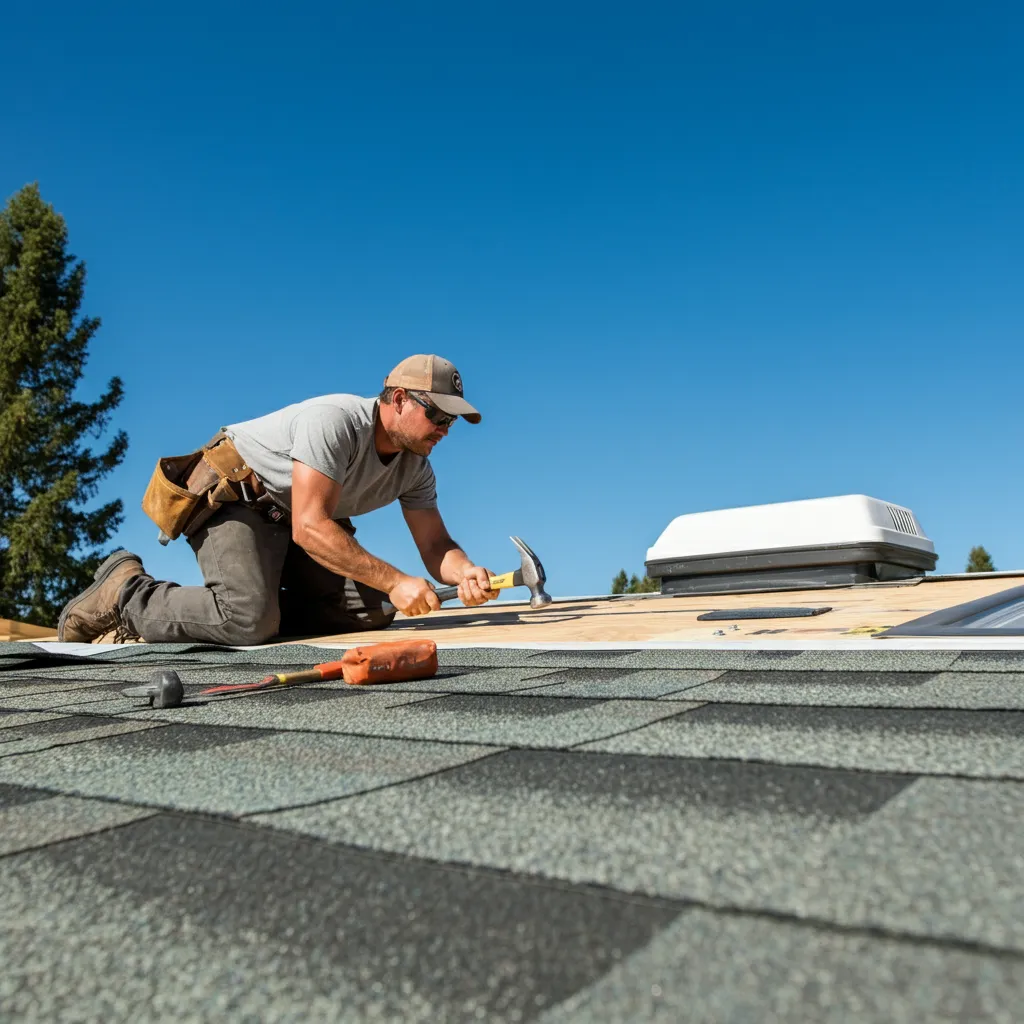
How to Hold Your Shingling Hammer Right
Contrary to what you might think, holding a shingling hammer isn’t just grabbing and swinging. Proper grip is key to both efficiency and safety.
- Find Your Sweet Spot: Hold the hammer by the end of the handle for maximum leverage and power.
- Relax Your Grip: Avoid gripping too tightly. A firm but relaxed hold reduces strain and allows better control.
- Position Properly: Keep your wrist straight and your movements fluid—this prevents unnecessary strain on your hand and arm.
Remember, it’s all about control. Treat it kindly and it’ll repay you with effortless shingling.
Mastering the Swing: Technique Tips
The swing is where the magic happens. Here are some tips to get your shingling technique on point.
- Start Light: Don’t go all-out on your first swing. Practice with light, controlled movements to get the feel of the hammer.
- Aim for Precision: Position the nail precisely where you want it, and swing confidently. A little confidence goes a long way here.
- Stay Consistent: Use the same amount of force and angle for every nail to ensure even results.
It doesn’t have to be perfect—just consistent. Over time, your swings will feel natural and precise.
Common Mistakes to Avoid While Shingling
We all make mistakes, but avoiding these common pitfalls can save you a lot of time, effort, and frustration.
- Overdriving Nails: Driving nails too deep can warp shingles. Keep it flush with the surface.
- Uneven Spacing: Uneven spacing looks messy and can compromise the roof’s durability. Use your shingling hammer’s built-in gauge for accuracy.
- Skipping Safety Gear: Forgetting proper protective equipment, like gloves and goggles, can lead to preventable injuries.
Avoid these, and you’ll save yourself from making “rookie” moves.
Best Practices for Shingle Installation
Shingle installation might seem straightforward, but following these best practices ensures professional results every time.
- Start at the Bottom: Always begin at the lowest part of the roof and work your way up. This prevents water seepage.
- Use a Chalk Line: Chalk lines ensure each row is perfectly straight, giving your roof a clean, uniform look.
- Layer Like a Pro: Overlap each shingle slightly to create a water-resistant barrier. Think of it like fish scales—layered for function and design.
A little precision here goes a long way toward a sturdy, weather-proof roof!
Safety First: Gear Up Like a Pro
DIY projects are great, but safety should always come first. Before you swing that hammer, make sure you’re equipped with the right gear.
- Gloves: To protect your hands from scratches, cuts, and blisters.
- Safety Goggles: Essential for keeping debris out of your eyes.
- Rubber-Soled Shoes: Prevent slipping, especially if you’re working on an RV or a slanted roof.
- Fall Protection: A safety harness is a must if you’re working at heights.
Taking these precautions ensures you can focus on the task at hand without unnecessary risks.
When to Call in the Pros
While shingling a small section of your roof or an RV can be a manageable DIY task, there are times when it’s best to call in professionals.
- Large-Scale Projects: If you’re working on an entire roof or a multi-level structure, professional assistance is worth considering.
- Structural Damage: Issues like rotting wood or significant leaks should always be addressed by experts to prevent further damage.
- Time Constraints: If you’re short on time, hiring pros can get the job done faster without compromising quality.
There’s no shame in calling for help. After all, your safety and the longevity of your roof matter most.
You’ve Got This!
Shingling is a skill that combines patience, precision, and a little bit of elbow grease. With your trusty shingling hammer and the tips shared here, you’re well on your way to completing your next DIY project like a champ.
Whether it’s patching up your RV’s roof for your next big camping trip or upgrading your shed, the right tools and techniques make all the difference.
Now, grab that hammer, lay those shingles, and show off your skills. Happy shingling!


