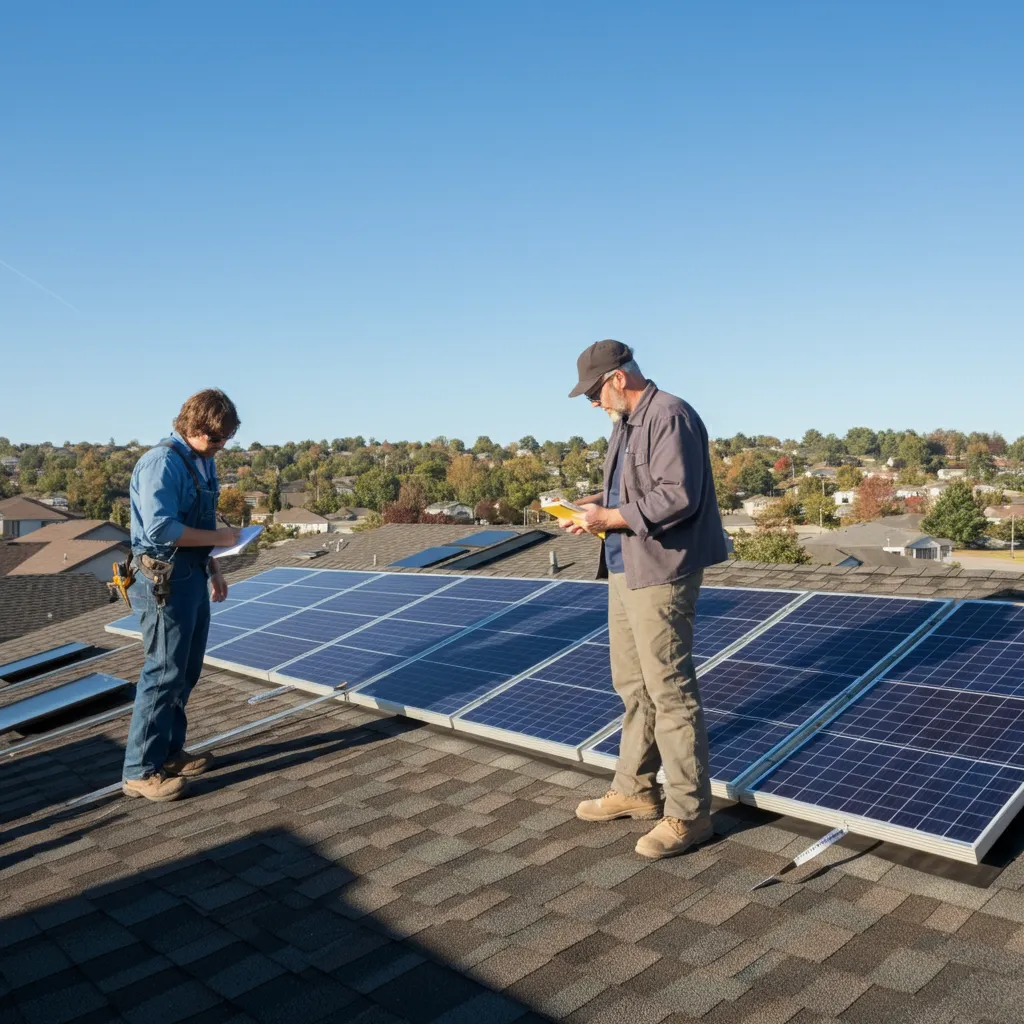
Understanding how to calculate roof squares is a fundamental skill for homeowners, solar energy enthusiasts, and roofing professionals alike. Whether you’re tackling a DIY roofing project, planning to install solar panels, or working in construction, knowing these calculations can save time, money, and prevent costly mistakes.
This guide will walk you through everything you need to know about roof squares—from what they are and why they matter to step-by-step instructions for measuring and calculating them accurately. By the end, you’ll feel confident about tackling your next roof-related project.
Understanding Roof Squares: A Simple Guide
What is a Roof Square?
A “roof square” is a roofing measurement unit commonly used in the industry. It refers to 100 square feet of roof area. This measurement simplifies estimating material requirements like shingles, underlayment, and labor. Instead of saying “1,500 square feet,” contractors and manufacturers often refer to “15 squares.”
This universal measurement is not only a time-saver but also ensures standardization when communicating roofing needs.
Why Do Roof Squares Matter?
Properly calculating your roof squares helps with:
- Accurate Material Estimates – Ensures you order the correct number of shingles or panels without overpaying for extra supplies.
- Cost Planning – Roofing contractors typically charge based on the number of squares, so accurate measurements prevent inflated costs.
- DIY Project Success – If you’re planning to work on your roof, knowing the material requirements is essential.
Measuring Your Roof Area
Step 1: Gather Your Tools
To measure your roof accurately, you’ll need the following tools:
- A long measuring tape
- A ladder (ensure it’s the appropriate height for your structure)
- Graph paper and a pencil for sketching your roof
- A calculator or smartphone
- Safety gear like gloves, a harness, and sturdy shoes
Step 2: Create a Roof Sketch
Before starting, draw a layout of your roof from the bird’s-eye view. Break the roof into smaller geometric sections (like rectangles or triangles) to simplify individual measurements. This sketch will help you keep track of your calculations and ensure nothing is overlooked.
Step 3: Measure Each Roof Section
Using a measuring tape, determine the width and length of each roof section. Write these dimensions down on your sketch for reference.
For example:
- Section 1: 20 feet (width) × 30 feet (length) = 600 square feet
- Section 2: 15 feet × 15 feet = 225 square feet
Step 4: Consider Roof Pitch
Flat roof measurements are straightforward. However, roofs with slopes require adjustments to account for their angle or “pitch.” Roof pitch refers to the incline ratio of the roof (commonly 4/12, 6/12, etc.), which impacts the total area.
To account for pitch:
- Measure the roof length and width as though it’s flat.
- Use a roof pitch calculator or apply the formula:
- Pitch factor = √(rise² + run²) / run
- Multiply the flat area by the pitch factor to get the actual roof surface area.
Example:
- A roof with a 6/12 pitch has a factor of 1.12. If the flat area is 1,000 square feet, the actual area is 1,000 × 1.12 = 1,120 square feet.
Converting Square Feet to Roof Squares
Once you have the total square footage, converting it to roof squares is simple:
1 square = 100 square feet
To calculate:
- Total roof area (sq. ft.) ÷ 100 = Number of roof squares
Example:
- If your roof area measures 1,500 square feet, divide by 100 to get 15 roof squares.
Factors Affecting Roof Square Calculation
While the calculations seem straightforward, keep these factors in mind:
- Overhangs: Many roofs have overhangs that add extra surface area.
- Dormers or Skylights: Complex roof designs can introduce tricky shapes to measure. Break these areas into smaller geometric shapes for clarity.
- Waste Factor: Always add 10–15% extra for material waste due to cuts, overlap, or miscalculations.
Tools You Might Need for Measurements
Here are some additional tools and gadgets to make measuring easier:
- Laser Distance Meter: Provides highly accurate measurements without climbing onto the roof.
- Roof Pitch Finder App: Many apps calculate pitch using your smartphone’s camera.
- Drones: For particularly large or complex roofs, drones can provide aerial imaging.
Common Mistakes to Avoid
- Skipping the Roof Pitch: Neglecting the pitch can lead to significant underestimations of material needs.
- Overlooking Smaller Sections: It’s easy to forget dormers, overhangs, or leanto additions.
- Not Accounting for Waste: Running out of materials mid-project can stall your progress and increase costs.
- Relying on “Eyeballing”: Always use tools and proper measurements instead of rough guesses.
Practical Examples
Example 1: A Simple Flat Roof
- Roof dimensions: 40 ft. × 20 ft.
- Flat area = 800 square feet
- 800 ÷ 100 = 8 roof squares
Example 2: A Gabled Roof with Pitch
- Flat area dimensions = 30 ft. × 50 ft.
- Area = 1,500 square feet
- Pitch factor for 8/12 = 1.2
- 1,500 × 1.2 = 1,800 square feet
- 1,800 ÷ 100 = 18 squares
By applying these examples, you can more confidently work on your own measurements.
Mastering Roof Square Calculations
Whether you’re preparing for a DIY roofing project, installing solar panels, or estimating costs for a renovation, understanding roof squares is your go-to tool. With this knowledge, you can plan with confidence, avoid common errors, and save money on materials.
If math isn’t your strong suit, don’t worry! Automated tools and calculators can simplify the process even further, helping you measure accurately.
Now that you’re equipped with a step-by-step guide, it’s time to apply what you’ve learned. Head outdoors, measure with precision, and get started on that roofing project with confidence.


