Planning to replace or install roof shingles on your RV, cabin, or DIY camping structure? Whether you’re a DIY enthusiast or a member of the camping community, nailing roof shingles correctly is an essential skill that can save you time, money, and the headache of future leaks or damage.
This guide will equip you with the know-how to get your roofing project right the first time, covering everything from choosing the right shingles to inspecting your work after nailing. By the end, you’ll have all the confidence needed to protect your roof from the elements and master the art of shingle installation.
Choosing the Right Shingle Type
Not all shingles are created equal, and the type you choose has a direct impact on the durability and longevity of your roof. Here are some common shingle types and their ideal applications:
1. Architectural Shingles
- Best for: Homes, cabins, and RVs exposed to harsh weather conditions.
- Why choose them? These are thicker, more durable, and often have a textured look similar to wood shake. They provide fantastic protection against wind and moisture.
2. 3-Tab Shingles
- Best for: Cost-effective projects in milder climates.
- What’s their deal? Thinner and more affordable, they’re popular for simple roofing jobs. However, they may not hold up as well under extreme weather conditions.
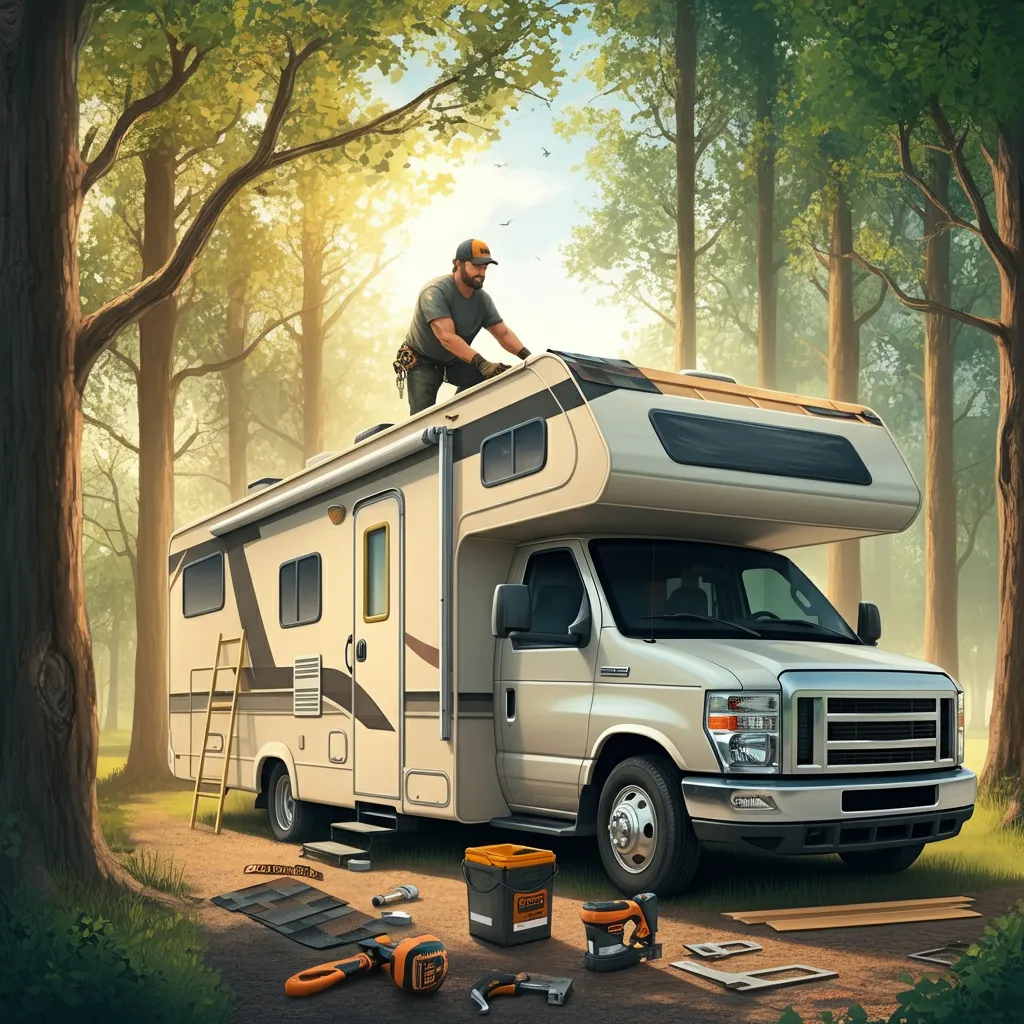
3. Metal Sheets as an Alternative
- Best for: RV roofs or camp shelters.
- Why go for metal? While not a traditional “shingle,” metal options are lightweight and resistant to elements, making them ideal for RV owners looking for low-maintenance roofing solutions.
When in doubt, consult a hardware store expert or research local building codes to ensure you’re using the best shingles for your project.
Tools You’ll Need for the Job
Before you begin, gather the right tools. Proper equipment will make your task easier and result in a sturdier roof.
- Shingle nails (typically 1¼-inch galvanized roofing nails).
- Claw hammer or pneumatic roofing nailer.
- Roofing felt or underlayment paper.
- Measuring tape and chalk line for marking straight lines.
- Utility knife for trimming shingles.
- Ladder or scaffold for safe roof access.
- Roofing gloves and safety harness.
Pro Tip: If using a nail gun, make sure the pressure is properly calibrated to avoid overdriving or underdriving nails.
Preparing Your Roof Surface Properly
Preparation is key to ensuring the shingles sit securely and protect your roof. Here’s how to prep your surface:
1. Clear the Roof
Remove old shingles, nails, and any debris. The surface should be completely clean.
2. Check for Structural Damage
Inspect the roof’s decking or sheeting for rot or weak spots. Replace damaged areas to create a sturdy foundation.
3. Install Underlayment
Place roofing felt or an underlayment layer to provide waterproofing and additional protection beneath your shingles. Overlap each layer at least 2-4 inches to avoid leaks.
Proper Nailing Techniques Explained
When it comes to nailing roof shingles, consistency and precision are non-negotiable. Follow these steps for a professional-grade result:
1. Use the Correct Number of Nails
Each shingle should typically be secured with four nails, though regions with high-wind zones might require six nails per shingle.
2. Nail Placement
Position nails evenly across the nailing line located around ¾ inch below the top of each tab. This ensures the nails are covered by overlapping shingles but still secure the underlying layer.
3. Drive Nails Correctly
- Ensure nails are snugly flush with the shingle surface, not overdriven or angled.
- Overdriven nails can damage the shingles, while underdriven nails can cause them to loosen.
4. Start from the Bottom
Lay your first row of shingles along the drip edge at the bottom of the roof, and work your way upward. Overlap rows to maintain weather resistance.
Common Mistakes to Avoid
Even seasoned DIYers can stumble in this area. Here are common mistakes to avoid:
- Skipping Underlayment
This exposes your roof to moisture and long-term water damage.
- Improper Nail Placement
Nailing too high or too low can destabilize your shingles, reducing their effectiveness during harsh weather.
- Not Aligning Shingles
Crooked rows are not just unsightly but can also create gaps.
- Forgetting Edge Metal
Drip edges and edge flashing are essential to direct water off your roof.
Safety Tips for Roofing Projects
Roofing can be dangerous without the right precautions. Follow these safety tips to work confidently and reduce risk:
- Wear a Safety Harness secured to an anchor point.
- Use Non-Slip Shoes for better traction.
- Work During Optimal Weather—avoid windy or rainy days.
- Don’t Work Alone; always have a partner on the ground to assist if needed.
- Be Cautious Around Edges, even if it seems stable.
Inspecting Your Work After Nailing
Once you’ve nailed your last shingle, don’t pack up just yet. Here’s how to double-check your work:
- Check Nail Placement
Ensure every nail is in the correct position and holding properly.
- Inspect Shingle Alignment
All shingles should be perfectly straight with no uneven gaps.
- Test for Loose Shingles
Lightly tug on random shingles to ensure they are secure.
- Look for Exposed Nails
Use roof cement to seal any nails or gaps for added protection.
Mastering Your Shingle Installation
Congratulations—you’ve successfully nailed (no pun intended) your roof shingles! Installing shingles yourself is a challenging but rewarding project. By choosing the proper materials, using the right techniques, and prioritizing safety, you’ve equipped your structure with a durable and secure roof.
Need more ideas or tips for DIY camping and RV projects? Sign up for our newsletter or browse our blog to stay inspired. Here’s to more projects and perfectly executed DIY adventures!


