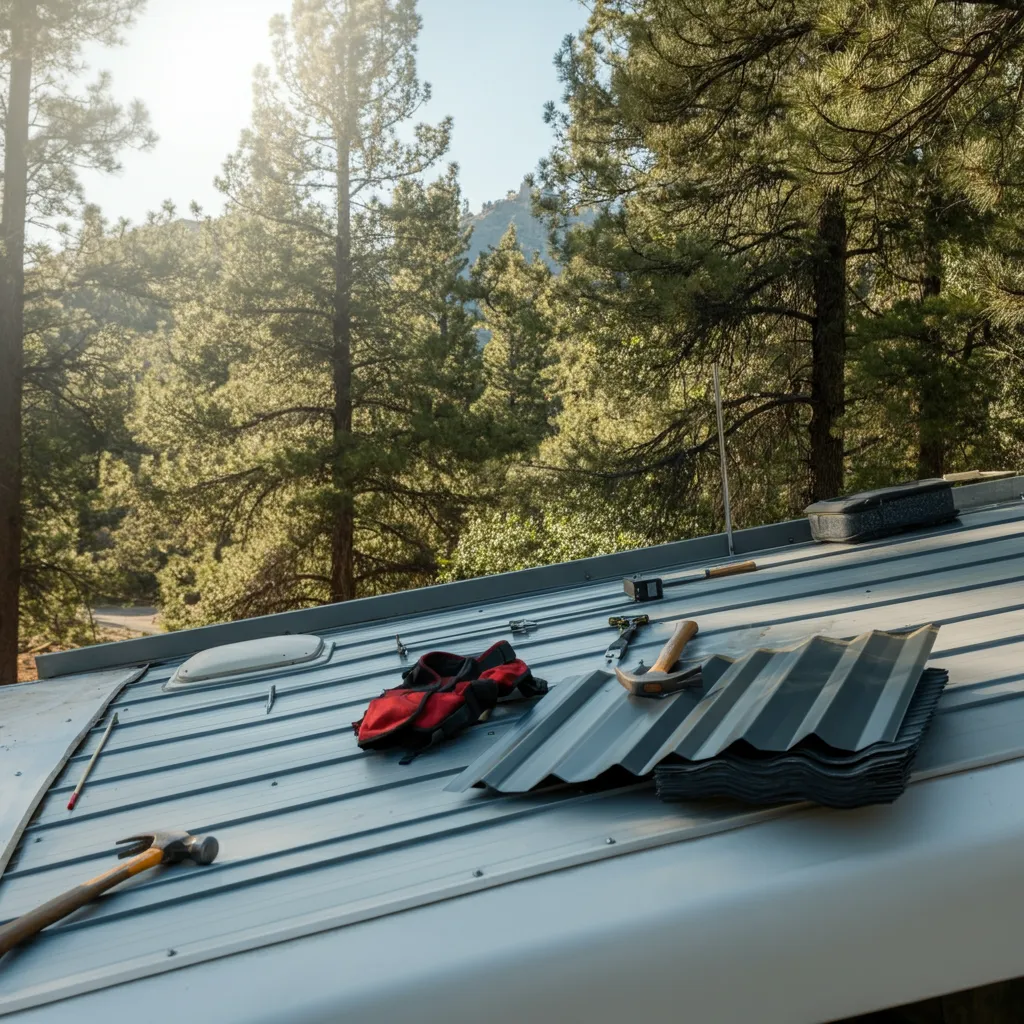
Metal roofs are synonymous with durability and sleek styles, which is why they’ve gained popularity among RV owners, DIY enthusiasts, and even camping communities. But what if you want to customize the look of your existing metal roof or give it a fresh, protective coat? Is painting a metal roof even possible?
The short answer is yes—you can paint a metal roof. However, it’s not as simple as picking up a gallon of paint and a brush. To ensure long-lasting results, you need the right materials, proper surface preparation, and some technical know-how.
This blog breaks down the process of painting a metal roof, including the best practices, tools required, and common pitfalls to avoid. By the end, you’ll have all the knowledge to tackle this project with confidence.
Why Paint a Metal Roof?
Before we jump into the how, let’s address the why. Painting a metal roof can serve multiple purposes, including:
- Enhancing aesthetics: Whether you want to match your roof to your RV’s paint job or make it pop against the natural surroundings of your camping spots, paint opens up endless customization options.
- Adding protection: High-quality paint acts like an additional shield, offering protection against UV rays, rust, and corrosion.
- Improving energy efficiency: Reflective roof paints can deflect sunlight, keeping your RV or property cooler and reducing energy costs.
Choosing the Right Paint for a Metal Roof
Not all paints are created equal—especially for a metal roof. Here’s what you need to know when picking your paint type and primer:
Types of Paint
- Acrylic Latex Paints: These are your go-to for metal roofs. They stick well to primer-coated surfaces and hold up against weather conditions.
- Oil-Based Paints: While durable, these are less common today due to environmental concerns and complexity in application.
- Special Roof Coatings: Reflective or elastomeric coatings can provide added benefits like thermal resistance and protection from extreme weather.
Primer Matters
Never skip the primer step. Metal primers create an adhesive layer that allows the paint to stick properly. Primer also prevents rusting—essential if you’re starting with raw or old metal that has visible signs of oxidation.
Pro Tip: Look for primers designed specifically for metal roofs to get the best results.
Tools You’ll Need
Having the right tools ensures efficiency and top-notch results. Here’s a checklist for your painting project:
- Wire brush or sandpaper (for preparing the surface)
- Pressure washer (optional, for cleaning dirt and grime)
- Metal primer and paint (suitable for outdoor use)
- Paint rollers and brushes (foam rollers work great on flat surfaces)
- Paint sprayer (for even applications, especially on larger areas)
- Safety gear (gloves, mask, goggles, and non-slip shoes)
Preparing the Metal Roof Surface
The key to a successful paint job lies in the preparation. Without proper prep, even the best paint will peel or crack in no time.
Step 1: Clean Thoroughly
Start by removing dirt, grime, and debris. Use a pressure washer if the roof is heavily soiled. For smaller projects, warm soapy water and a sponge will do just fine.
Step 2: Remove Rust
If there are rust spots, scrub them off using sandpaper or a wire brush. This prevents the rust from spreading later.
Step 3: Check for Damage
Inspect the roof for dents, cracks, or loose panels. Repairing these issues before painting ensures a smooth finish.
Step 4: Apply Primer
Apply a coat of metal primer over the entire roof. Follow the recommended drying time listed on the primer’s instructions to avoid trapping moisture.
Painting the Roof
After prepping, it’s time for the main event—painting! Here’s a step-by-step guide to ensure everything goes smoothly:
Step 1: Check Weather Conditions
Choose a dry day with mild temperatures. Avoid painting in extreme heat or humidity, as this can affect the paint’s adhesion and drying time.
Step 2: Apply the Base Coat
Start with the first layer of paint using a roller, brush, or sprayer. Work in small sections to ensure an even application. Make sure each stroke overlaps slightly to avoid visible edges.
Step 3: Wait and Reapply
Allow the first coat to dry completely before applying a second coat. Two layers are often sufficient for vibrant color and strong protection.
Step 4: Inspect Your Work
Once everything dries, inspect the roof to ensure there are no patchy areas or missed spots. Touch up as needed.
Common Mistakes to Avoid
Painting a metal roof is no small feat, and avoiding these mistakes can save you time and hassle:
- Skipping the primer: Forgoing this step will almost guarantee peeling paint down the line.
- Painting over rust: Rust will spread under paint, undoing your hard work. Always deal with rust first.
- Rushing the drying process: Allow every layer—primer, base coat, and touch-ups—to dry properly.
Roof Painting Safety Tips
Safety comes first, especially since you’ll be working on an elevated surface. Follow these tips to minimize the risk of injury:
- Use a sturdy, non-slip ladder to access the roof.
- Wear non-slip, rubber-soled shoes to maintain grip.
- Work with a harness or rope for added safety.
- Avoid working alone—having a spotter on the ground is a smart precaution.
Maintaining Your Painted Roof
To prolong the life of your painted roof:
- Clean it regularly to prevent buildup of dirt and debris.
- Inspect for damage or peeling every six months.
- Touch up any faded or worn patches to maintain an even appearance.
Take the Leap and Transform Your Roof
Painting a metal roof is a rewarding DIY project that can enhance the functionality and aesthetics of your RV or other structures. By understanding the process, choosing the right materials, and avoiding common pitfalls, you’ll be equipped to tackle this task like a pro.
And finally, don’t forget to share your masterpiece on social media! Connect with fellow DIY enthusiasts and camping communities to showcase your newly spruced-up roof.


