When tackling a roofing project, whether you’re a contractor, homeowner, or a DIY enthusiast, you’ll often come across the term “roofing square.” But what exactly does it mean, and why is it so critical in the world of roofing? Understanding the concept of roofing squares will help you plan, estimate costs, and select the right materials for a successful roofing project.
This guide provides a thorough explanation of roofing squares, their importance, and how they influence everything from budgeting to material selection. Here’s what you’ll learn:
- What a roofing square is
- Why roofing squares matter
- How to calculate roofing squares
- Tips for avoiding common mistakes
- Cost implications of roofing squares
- Professional vs. DIY roofing considerations
By the end, you’ll have the knowledge you need to approach your next roofing project with confidence.
Understanding the Concept of a Roofing Square
A roofing square is a standard unit of measurement in the roofing industry. It refers to 100 square feet of roofing area. Unlike general square footage, roofing measurements use this specialized term to simplify calculations involving large surfaces.
For example:
- A roof measuring 2,000 square feet is equivalent to 20 roofing squares.
- This calculation applies to both materials and labor, making it a universal metric for contractors and suppliers.
Knowing what a roofing square is helps ensure consistency when ordering materials, discussing estimates with contractors, or calculating labor costs.
Why Roofing Squares Matter for Your Project
Roofing squares are more than just a measurement—they’re a foundation for planning and executing roofing projects. Here’s why they are crucial:
- Material Estimates: Roofing squares standardize material requirements, ensuring you order the correct amount of shingles, underlayment, or flashing.
- Labor Calculations: Contractors often price labor based on the total number of squares rather than square footage.
- Cost Clarity: Speaking in roofing squares simplifies pricing comparisons when evaluating bids from contractors or suppliers.
Whether you’re a contractor managing multiple clients or a homeowner trying to budget accurately, roofing squares allow for efficient communication and planning.
How to Calculate Roofing Squares Simply
Calculating roofing squares may sound challenging, but it’s straightforward with the right approach. Here’s a step-by-step method:
1. Measure Roof Dimensions
- Use a long measuring tape or a digital measuring tool to measure the length and width of each section of your roof.
2. Account for Roof Pitch
Most roofs aren’t entirely flat, so you’ll need to factor in the pitch or slope. Use a pitch multiplier based on the roof’s angle:
- Flat to low slope (3/12 or less) – Multiplier = 1.00 to 1.06
- Moderate slope (4/12 to 6/12) – Multiplier = 1.12 to 1.25
- Steeper slope (>7/12) – Multiplier = 1.31+
Multiply the flat roof area by the pitch factor to account for the slope.
3. Divide by 100
Finally, divide the total adjusted square footage by 100 to determine your total roofing squares.
Example Calculation
For a roof section measuring 40 feet by 50 feet with a 6/12 pitch:
- \( 40 \times 50 = 2,000 \) square feet
- \( 2,000 \times 1.12 = 2,240 \) adjusted square feet
- \( 2,240 \div 100 = 22.4 \) roofing squares
You would need approximately 23 squares of material to complete this roof.
The Importance of Accurate Measurements
Precision matters. Incorrect measurements can lead to serious consequences for roofing projects, such as:
- Running out of materials mid-project
- Wasting money on excess materials
- Delays caused by last-minute recalculations
Here are some tips to improve accuracy:
- Double-check your measurements before finalizing calculations.
- Use professional tools like a laser measurer for complex roof designs.
- Work with an experienced contractor for precise roof evaluations.
Investing time in accurate measurements saves money and builds long-term confidence in your roofing plans.
Common Mistakes When Estimating Roof Size
Mistakes in estimating roofing squares can derail even the best-laid plans. Avoid these pitfalls:
- Ignoring Roof Pitch
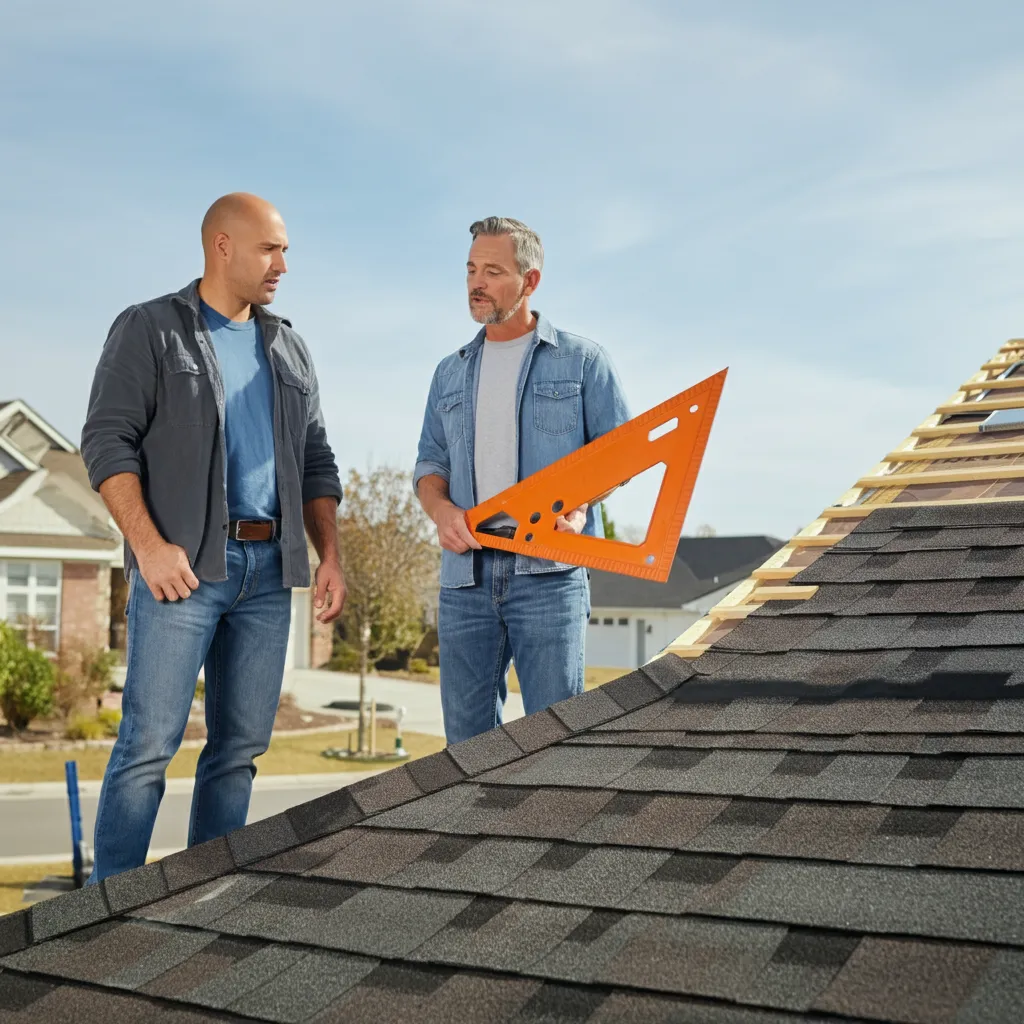
Misjudging the slope multiplier is a common error that underestimates material requirements. Always verify the pitch using a roof pitch gauge if unsure.
- Overlooking Waste
Material waste is inevitable with cutting and fitting. Plan for 10-15% extra material, especially for complex roof designs.
- Miscommunication
Be clear when discussing measurements with contractors or suppliers. Specify roofing squares, not raw square footage.
Learning from these mistakes helps prevent recurring headaches and unnecessary expenses.
Choosing the Right Materials for Your Roof
When buying materials, the type of roofing you choose greatly affects your project’s aesthetics, durability, and cost. Here’s a quick guide to help you decide:
- Asphalt Shingles: Affordable, easy to install, and ideal for most residential roofs.
- Metal Roofs: Long-lasting, weather-resistant, and eco-friendly.
- Clay Tiles: Provide a Mediterranean look but require reinforced roof structures.
- Wood Shingles/Shakes: Bring natural charm but require regular maintenance.
Ensure that your materials align with your budget, climate, and durability expectations.
Cost Implications of Roofing Squares Explained
The cost of roofing is typically broken down into three categories:
- Material Costs
Prices vary depending on the type of roofing. For example, asphalt shingles may cost $100-$150 per square, while clay tiles can exceed $500 per square.
- Labor Costs
Labor fees often range between $150-$300 per square, depending on the project’s complexity and roof height.
- Additional Expenses
Permit fees, disposal of old roofing, and unexpected repairs can add to the overall cost. Plan for 10-20% extra to cover such contingencies.
Understanding these factors makes financial planning easier and prevents unwelcome surprises.
Professional vs. DIY Roofing
Should you handle roofing yourself or hire a pro? Consider these points before deciding:
DIY Roofing
Pros:
- Cost savings on labor
- Total control over the project
Cons:
- High safety risks
- Requires specific expertise and tools
Hiring a Professional
Pros:
- Expertise ensures quality and efficiency
- Insurance covers potential damages
Cons:
- Higher upfront costs
For minor repairs, DIY may be sufficient. For full-scale installations, professionals are often the safest and most reliable choice.
Making Sense of Roofing Squares
Finally, mastering the concept of roofing squares unlocks clearer communication, accurate budgeting, and successfully completed roofing projects. Whether you’re a homeowner exploring DIY or a contractor managing a roster of projects, understanding roofing squares ensures every project starts off on solid ground.
Still have questions? Connect with a roofing specialist near you or bookmark this guide for your next project. The more informed you are about roofing squares, the smoother your experience will be.
Happy roofing!


