Dreaming of a cozy outdoor space where you can sip your coffee, host summer barbecues, or simply unwind after a long day? A patio roof attached to your house might be just what you need! Not only does it provide shade and shelter, but it also adds a dash of aesthetic appeal to your home. And the best part? You can build it with a clear plan, the right materials, and a bit of determination.
This guide will walk you through every step of the process, from choosing the right materials to securely attaching your patio roof to your house. Whether you’re an entrepreneur expanding into roofing services, a contractor refining your craft, or a DIY enthusiast ready to tackle a sizable project, this is the resource you’ve been waiting for.
Read on to learn how to take your patio roof from concept to completion, all while ensuring it’s both functional and visually appealing.
The Art of Crafting a Patio Roof
Materials: Choosing the Finest Components
The materials you pick will define the durability and look of your patio roof, so it’s important to choose wisely. Commonly used materials include wood, aluminum, and steel, each with its own benefits and drawbacks.
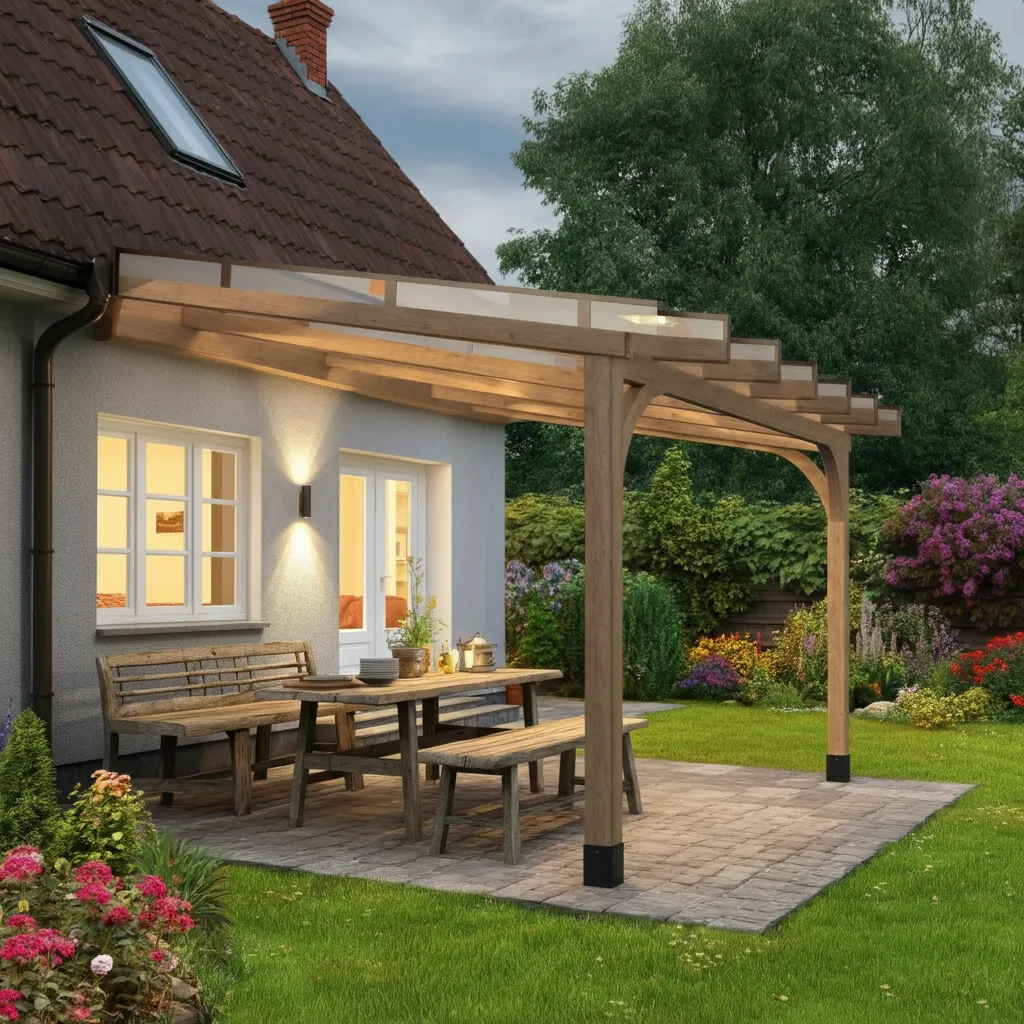
- Wood: Ideal for a natural aesthetic, wood pairs beautifully with most homes. Opt for high-quality lumber like cedar or redwood as they’re naturally resistant to rot and insects.
- Aluminum: Lightweight and resistant to rust, aluminum is an excellent low-maintenance option. It’s also quite versatile, as it can be painted to match your home.
- Steel: Great for strength and longevity, steel holds up well against extreme conditions. However, it can be heavier and may require additional support.
💡 Pro Tip: Ensure roofing panels are compatible with local weather. For example, transparent polycarbonate panels work well in areas that get a lot of sunlight but may not be suitable in heavy snow regions.
Design: Envisioning the Perfect Canopy
Before you start building, nail down your design. Your patio roof should strike the right balance between functionality and style while complementing your home.
- Size and Shape: Determine how much space you’d like the roof to cover. Ensure the height and angle allow for proper water drainage.
- Style: Options range from flat, lean-to designs to pitched roofs with gable ends. Consider the existing architecture of your house.
- Aesthetic Details: Will your roof feature exposed beams for a rustic charm? Or perhaps sleek, modern metal frames?
Sketch your vision or use design software to create a blueprint—it’ll act as your roadmap for each step.
Tools: Instruments for the Noble Endeavor
A craftsman is only as good as their tools. Having the right equipment is critical to the success—and safety—of your project. Here’s what you’ll need for the build:
- Measuring tape
- Circular saw or miter saw
- Power drill
- Hammer and nails
- Level
- Ladder or scaffolding
- Safety gear (gloves, goggles, etc.)
Stock up on screws, fasteners, and other hardware to ensure you’re equipped for every attachment point.
Preparation: Laying the Foundation with Care
Preparation is key in any construction project. Start by evaluating the area where the patio roof will connect to your house.
- Inspect the Wall: Check for damage in the area where you’ll mount the roof. It needs to be sturdy enough to support the structure.
- Mark the Layout: Using your measuring tape, clearly mark the dimensions and alignment of your patio roof on the wall and the ground beneath it.
- Acquire Necessary Permits: Depending on your location, you may need permits for outdoor construction. Check with local authorities before proceeding.
Construction: Erecting the Shelter with Grace
Now we get to the heart of the project. Follow these steps for a smooth build process:
1. Install the Ledger Board:
- The ledger board is a horizontal board attached to your house and serves as the main anchor point.
- Use lag screws to securely fasten it to wall studs for stability.
2. Position and Install Posts:
- Measure and mark where the support posts will go, dig holes, and secure them using concrete.
- Ensure that the posts are level before the concrete sets.
3. Attach Rafters:
- Nail or screw rafters to your ledger board and secure them to the support posts. Use rafter hangers to enhance stability.
- Space the rafters evenly to ensure a balanced structure.
4. Add Roofing Panels:
- Lay your selected roofing material (such as wood planks, metal sheets, or polycarbonate panels) on the rafters.
- Secure them in place with screws, ensuring there are no gaps for water leakage.
Attachment: Binding to the House Securely
To ensure the stability and safety of your patio roof, attach it to your house with great care.
- Flashing: Place a metal flashing strip where the patio roof connects to your home. This prevents water from seeping between the wall and ledger board.
- Sealing: Apply waterproof sealant along all joints and seams to keep moisture out.
Finishing Touches: Adorning Your Creation
The construction may be complete, but the finishing touches transform your roof into a polished, inviting space.
- Paint or stain your wooden elements, ensuring they’re treated for weather resistance.
- Add decorative lighting such as string lights or lanterns.
- Consider incorporating plants, outdoor furniture, or a cozy rug to complete the look.
Maintenance: Preserving Beauty Through Time
A well-maintained patio roof will last for years. Schedule regular checks and cleaning to preserve its integrity.
- Clean Gutters and Panels: Remove debris buildup to avoid blockages and moisture problems.
- Inspect for Damage: Look for signs of wear such as loose screws or cracks in the roofing material. Address any issues promptly.
- Repaint or Refinish Periodically: Maintain the protective coating on wood or metal to guard against weathering.
Enjoy Your Masterpiece
Congratulations! You’ve not only built a patio roof but also created a space that blends form and function seamlessly. It’s not just a roof—it’s an extension of your home and a reflection of your craftsmanship.
If you’re ready to start designing or need professional help, connect with a local contractor or roofing expert. A well-built patio roof starts with a solid plan, and with the right guidance, your vision can become reality.
Happy building!


